How to: Paint the wall(s)
Are you looking for more information on how to paint your walls?
Alright! Here is a simple step-by-step plan for painting your interior walls, with instructions and interesting products you can use in the process.
Step 1: preparation
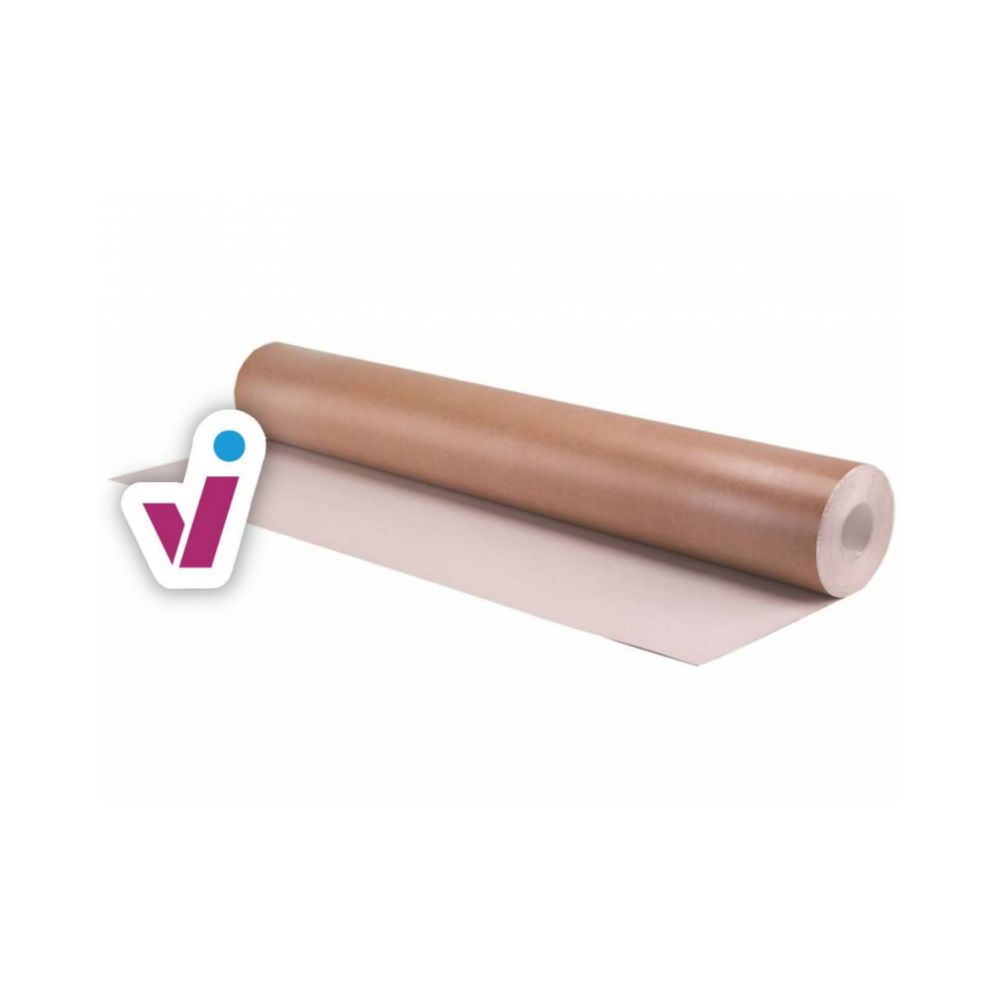
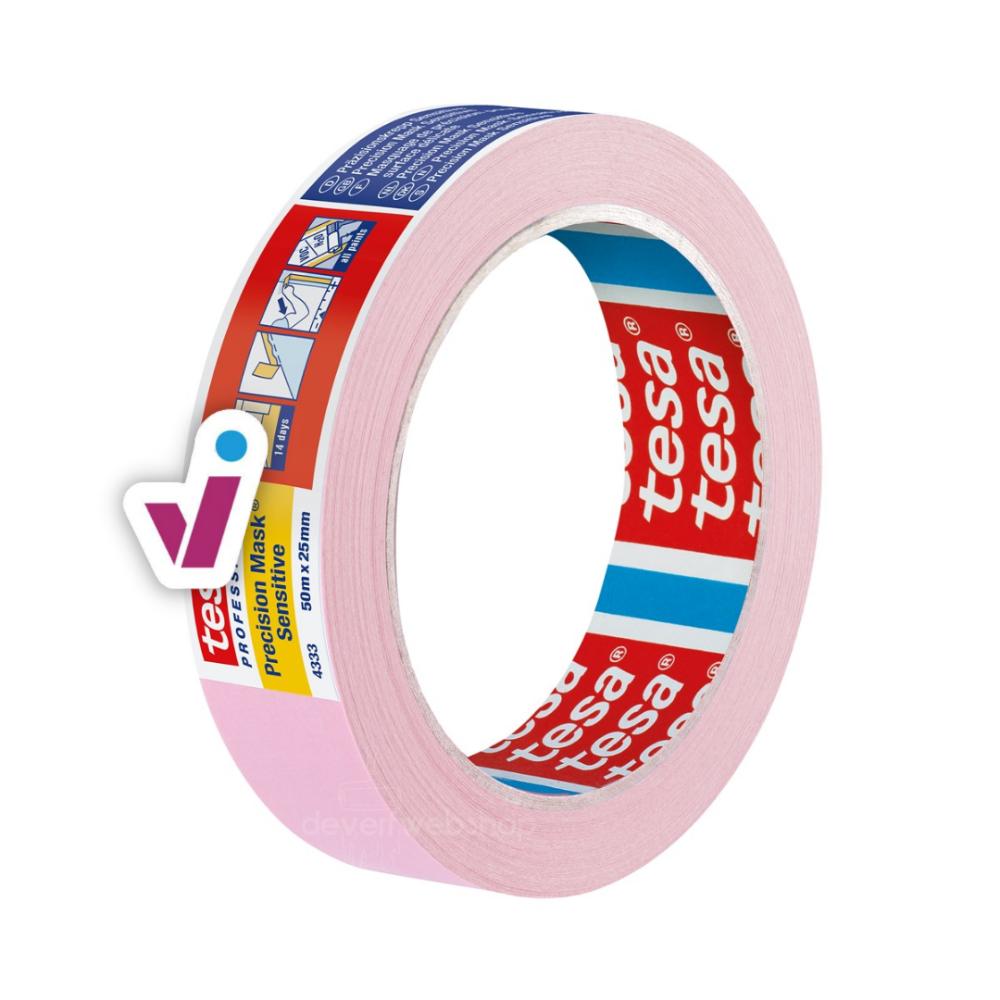
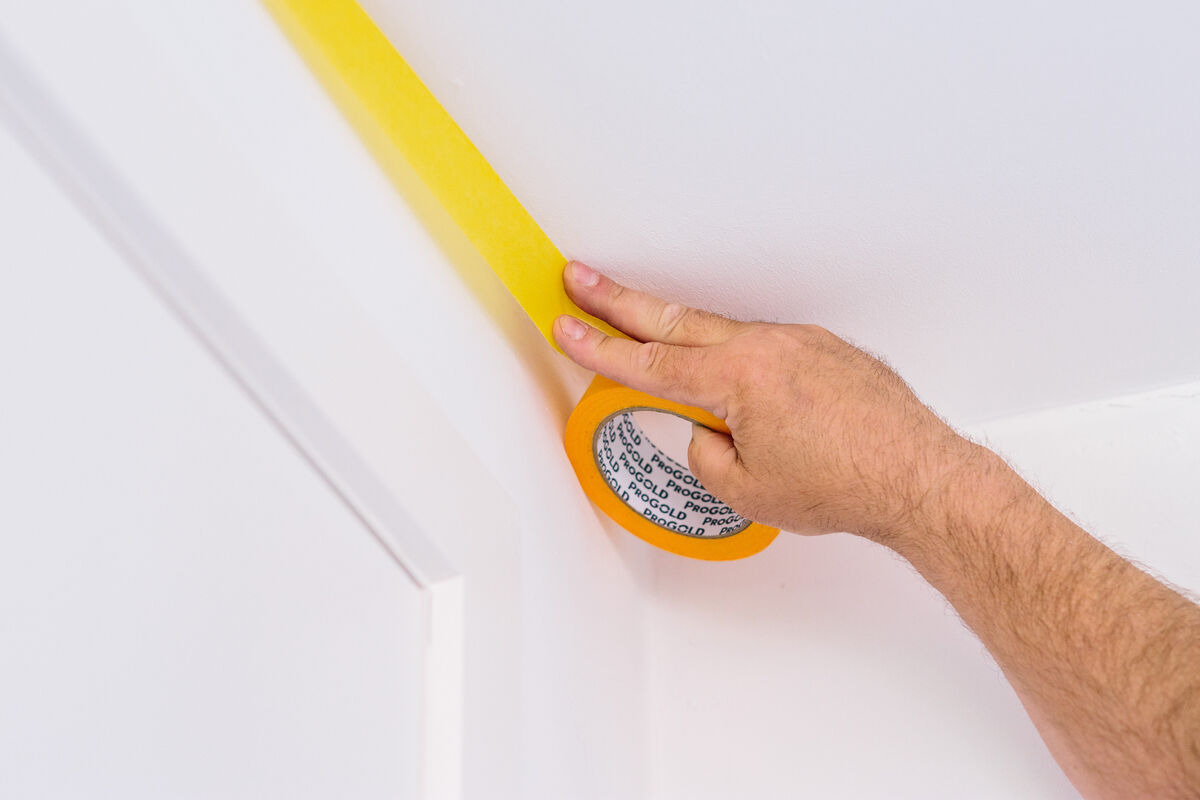
The first step is to make sure that everything that's not a wall is not painted along. You can cover the floor easily with floor protection paper. Skirting boards and window and door frames can be covered neatly with masking tape (after you've cleaned them because they tend to get dusty).
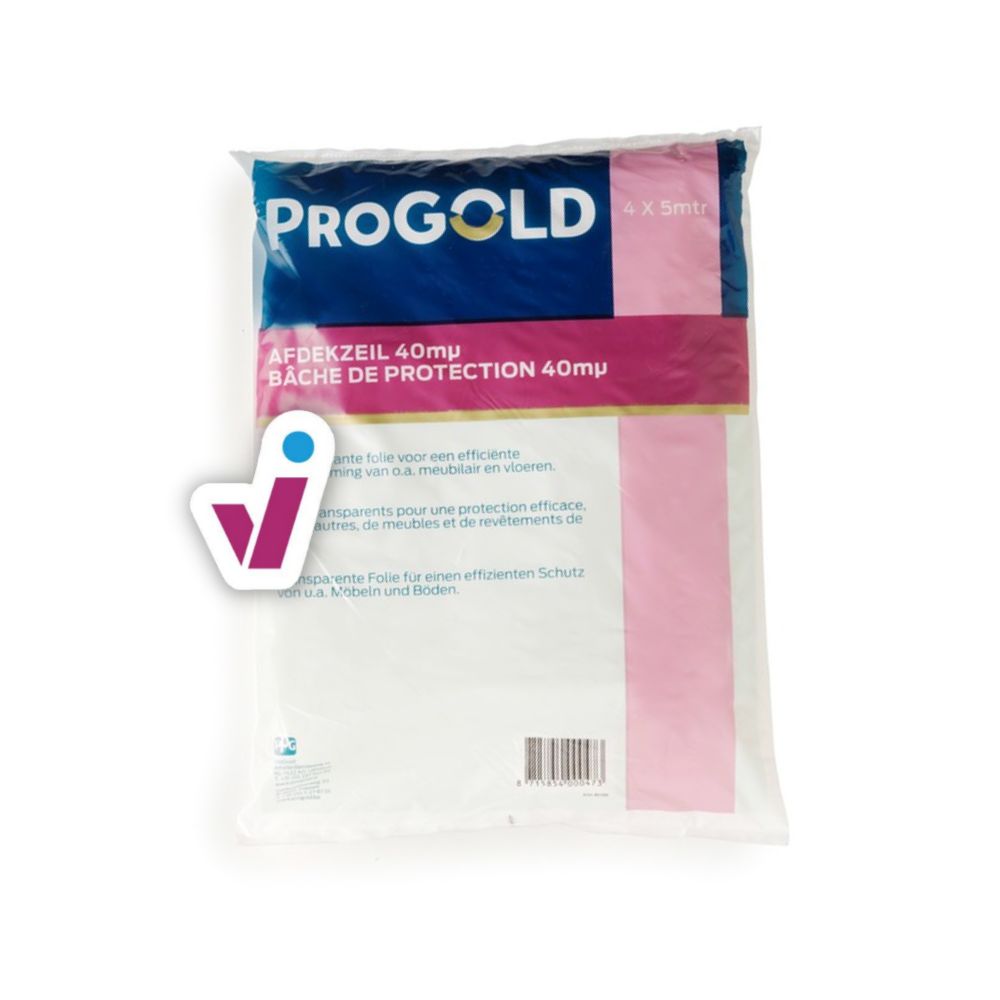
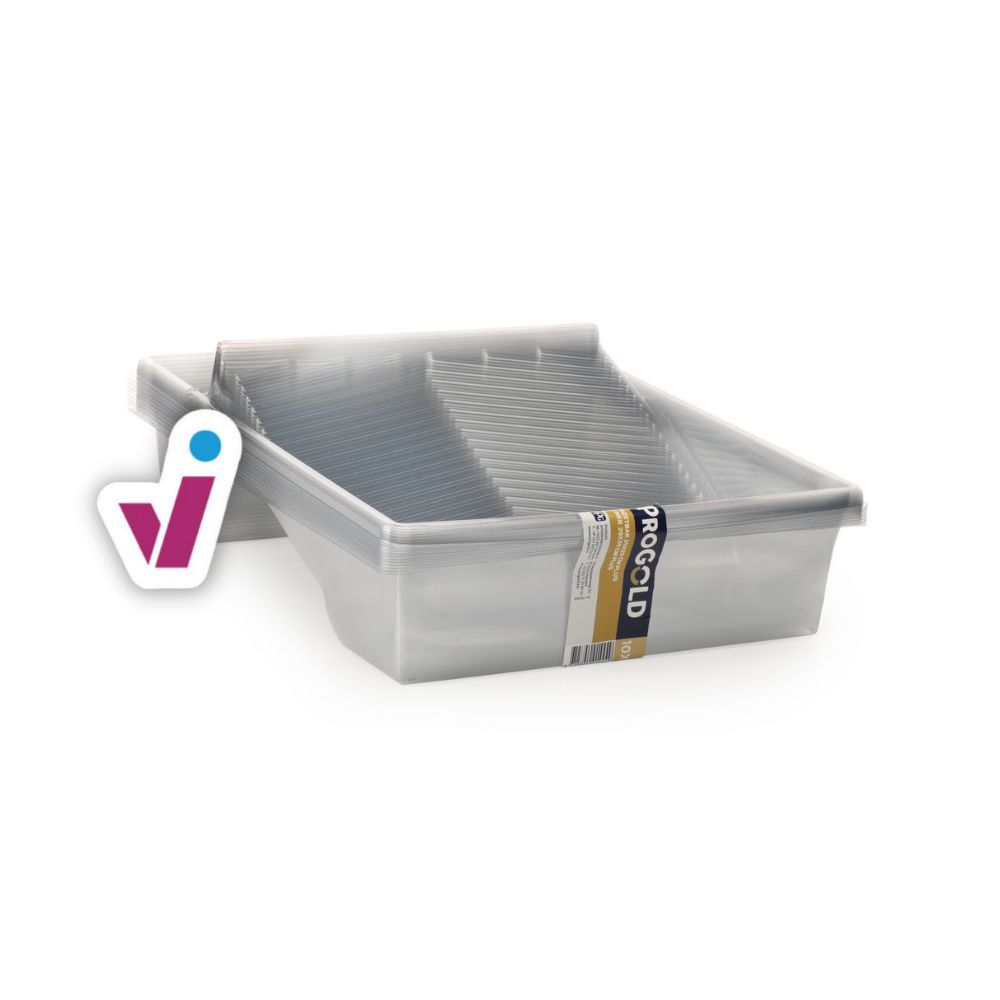
You can cover radiators with a plastic drop cloth (but don't forget to turn them off!). If there are adjacent walls or ceilings that do not need painting, it's also recommended to tape them. You can use this handy chart to know which masking tape you can use on which surface.
Step 2: examining and treating the surface
A previously painted wall
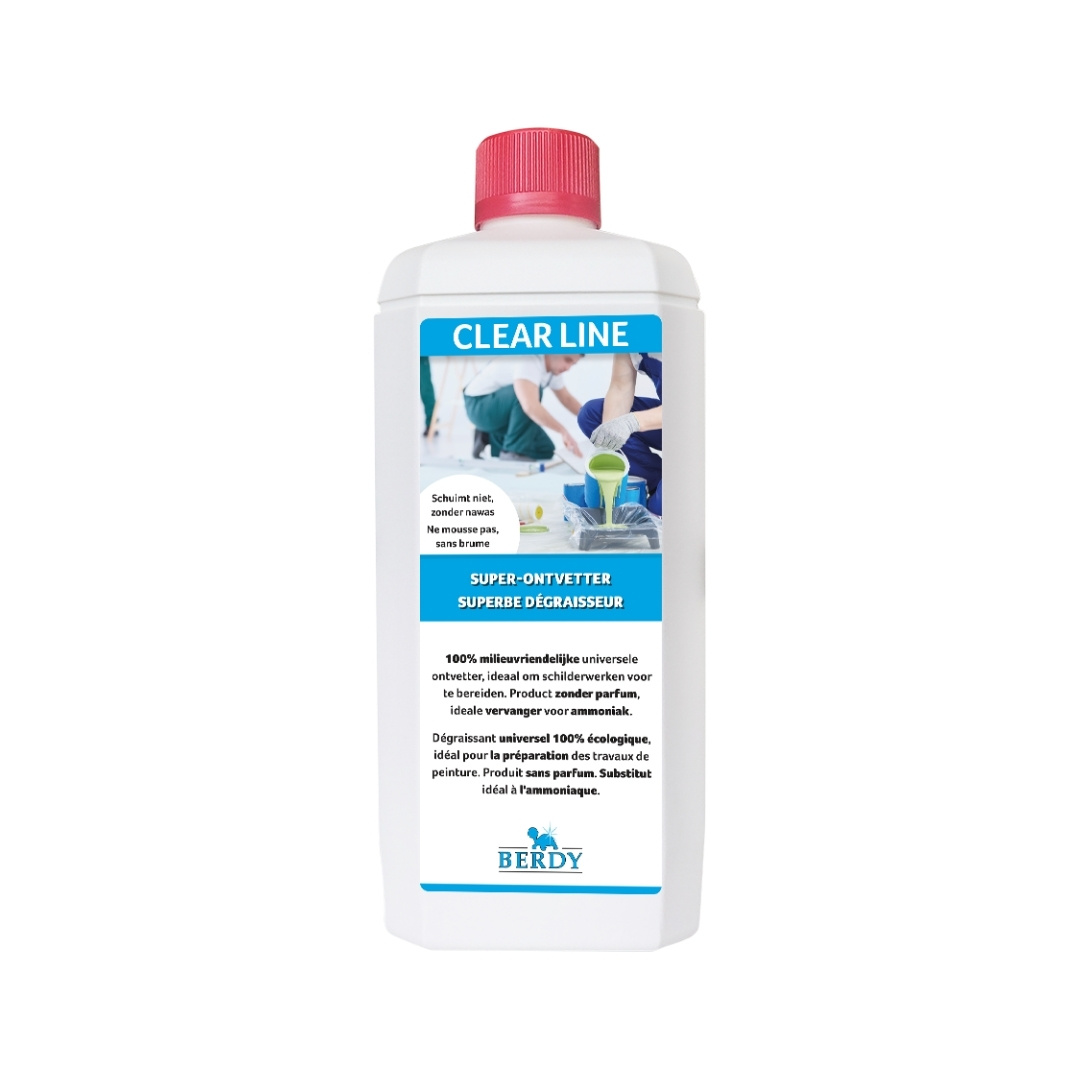
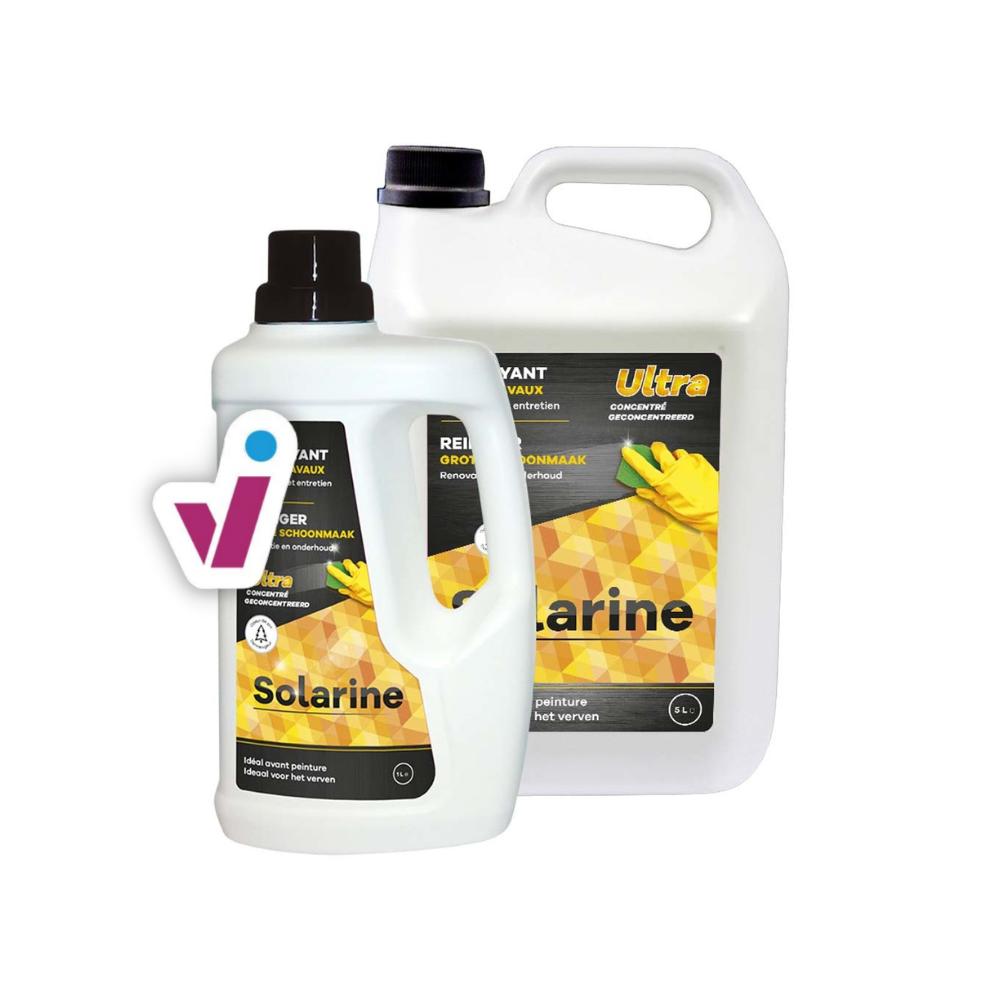
If your wall has already been painted before and this layer of paint still looks good, you won't have any extra preparation. Usually though, there is some dirt and/or grease on indoor walls. This should be removed before repainting the wall for the paint to adhere well. To clean your interior wall, a simple cleaning product will suffice. You can then immediately move on to step 3.An unpainted or porous wall
Walls that haven't been painted before, often have a rather absorbent surface, which means that they easily take up moisture. In other words, the paint you apply will partly soak into the wall and you'll have to adjust for this.A wall with holes, cracks or other damage
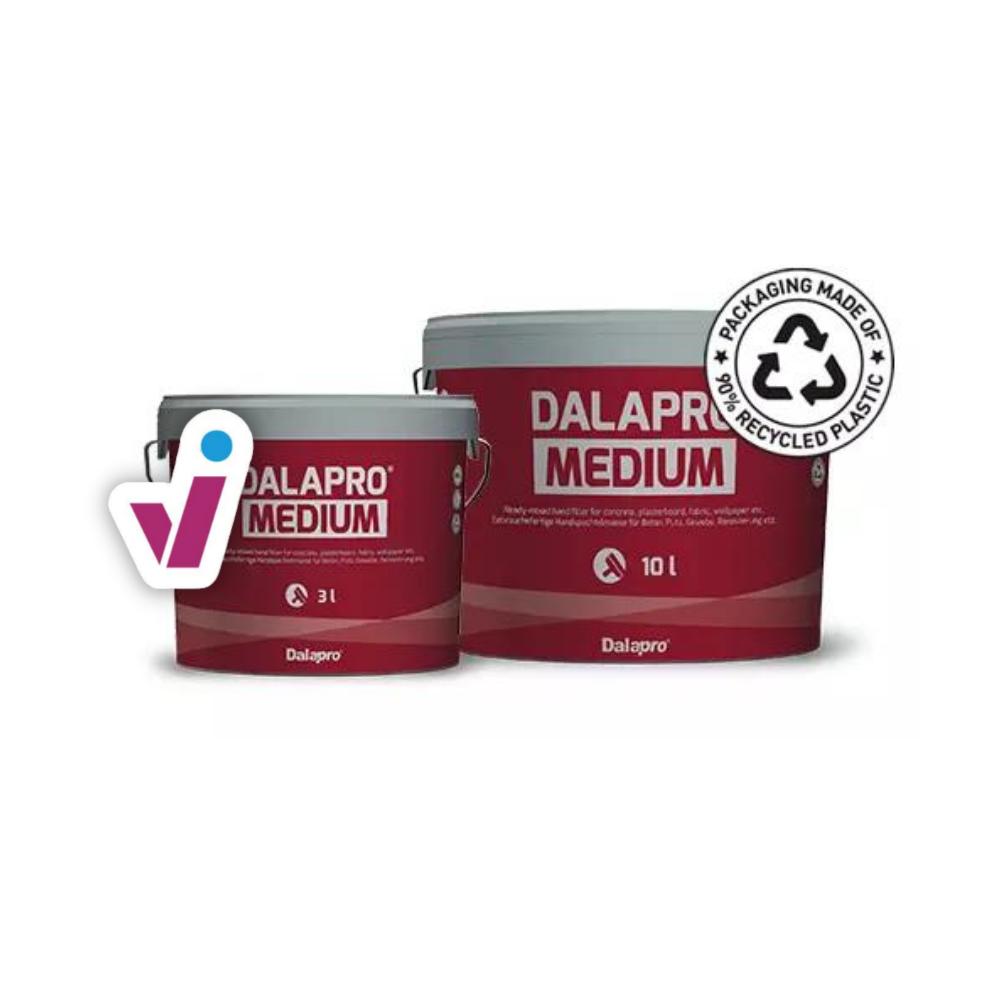
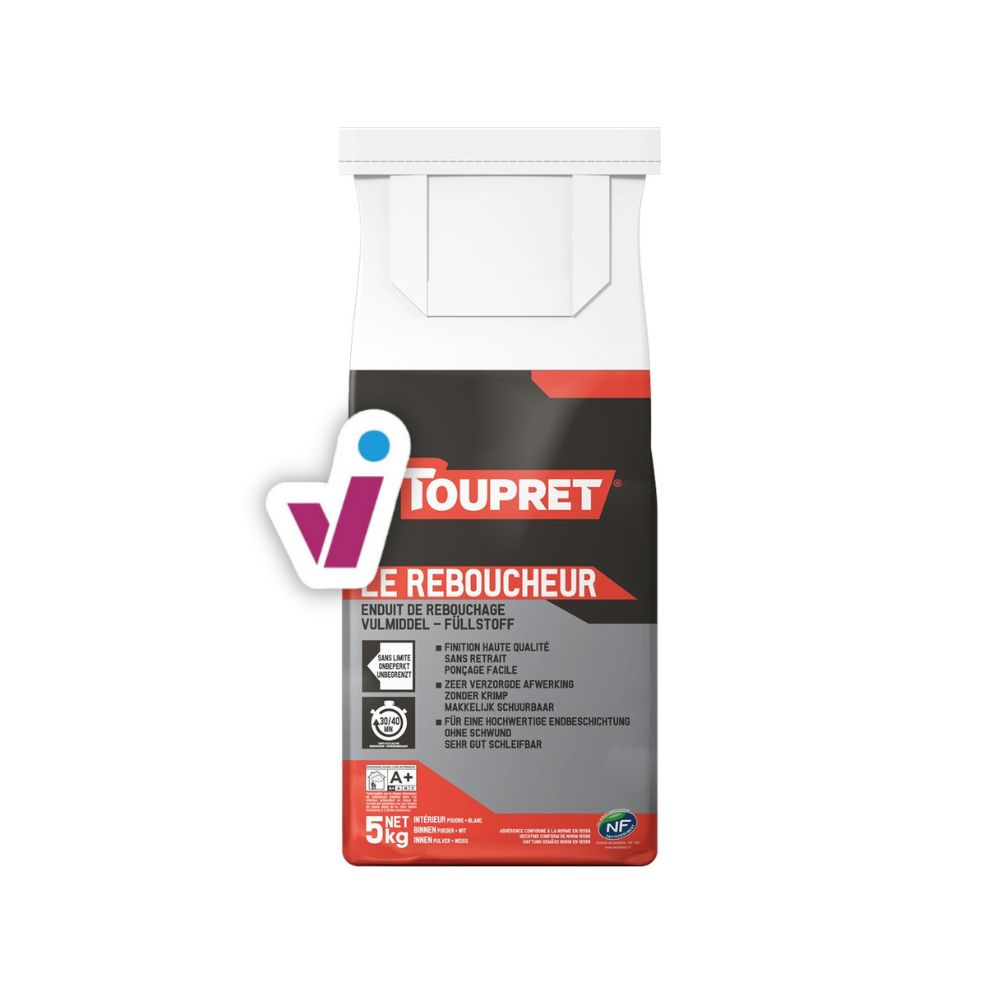
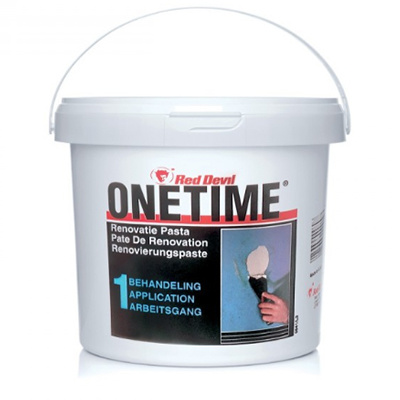
You'd probably like to have a nice smooth result. If there are holes, small cracks, pits, or other small irregularities in your wall, you can putty these before painting. For larger holes, you'll need an appropriate filler. Lightly sand the wall before you start painting. Finding it difficult to determine which product you need for the damage to your interior wall? Ask our experts for advice.A wall that is affected by moisture or mould
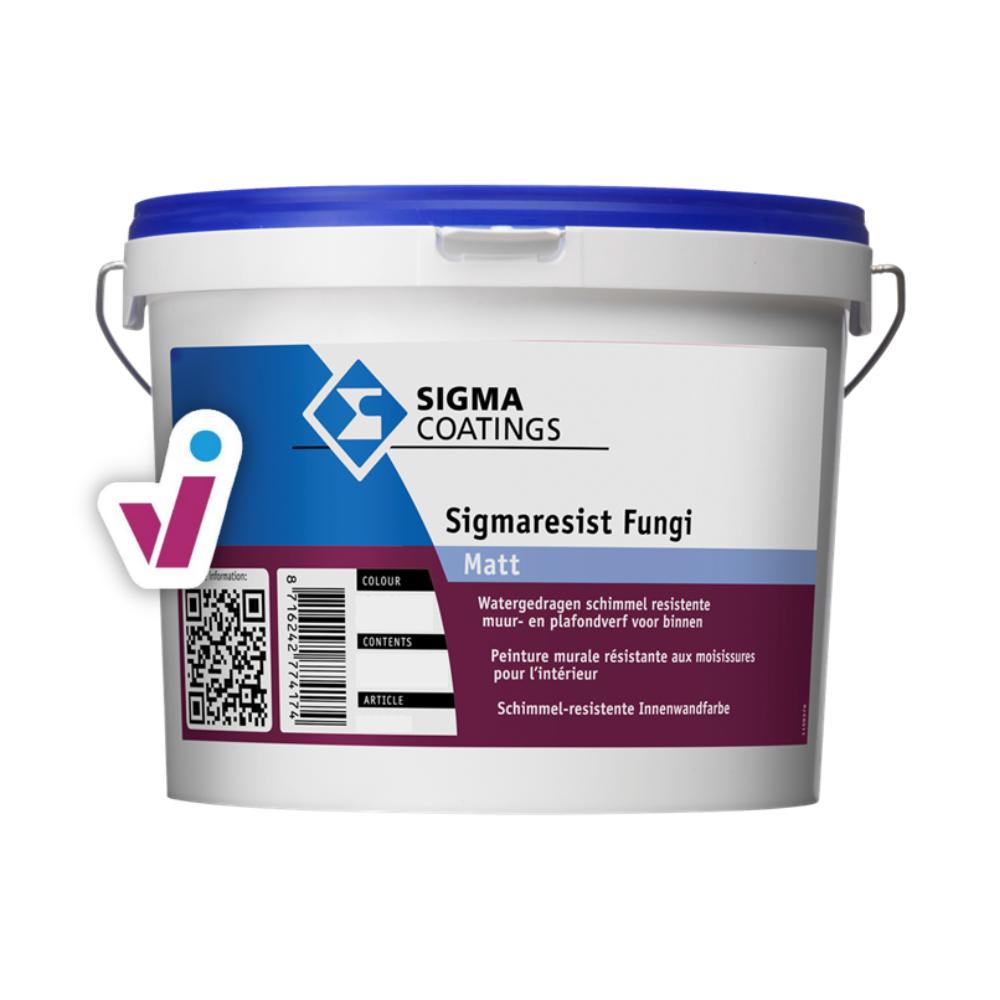
Here it's important that the moisture or mould problem is tackled first. After all, it will be difficult to apply paint to a damp wall. Damp-proof paint is not the solution to the problem either, but rather a tool to prevent the problem from recurring in the future, in combination with moisture control. So when you've dealt with the moisture problem, it's useful to first apply an insulating primer. Especially in rooms like kitchens or bathrooms, where there's often vapour and condensation, damp-proof paint is a good idea.
For painted walls
For unpainted walls
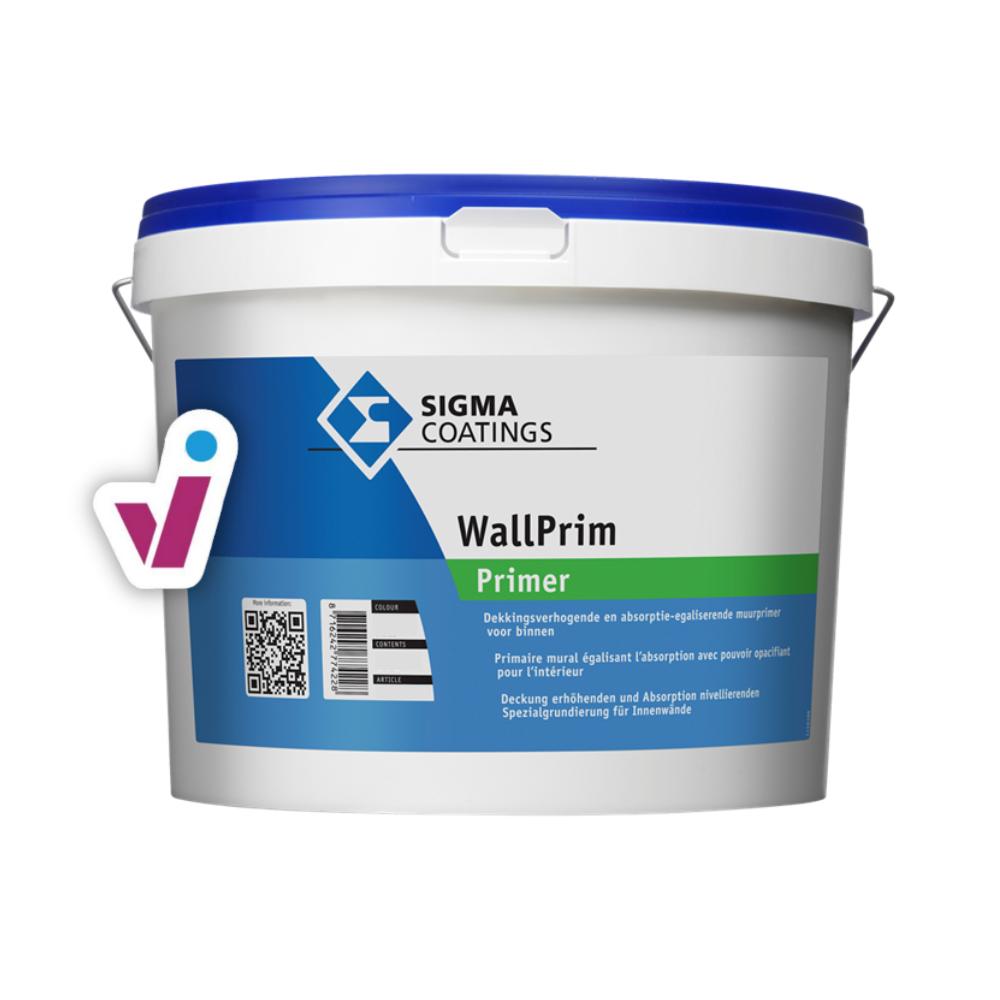
Pigmented absorption-levelling water-based wall primer for indoor use based on acrylate dispersion with "crosslinking technology".
Pigmented absorption-levelling water-based wall primer for indoor use based on acrylate dispersion with "crosslinking technology".
For damaged walls
For mouldy walls
Matt hygienic fungus-resistant water-based wall and ceiling paint for interior use.
Matt hygienic fungus-resistant water-based wall and ceiling paint for interior use.
For painted walls
For new walls
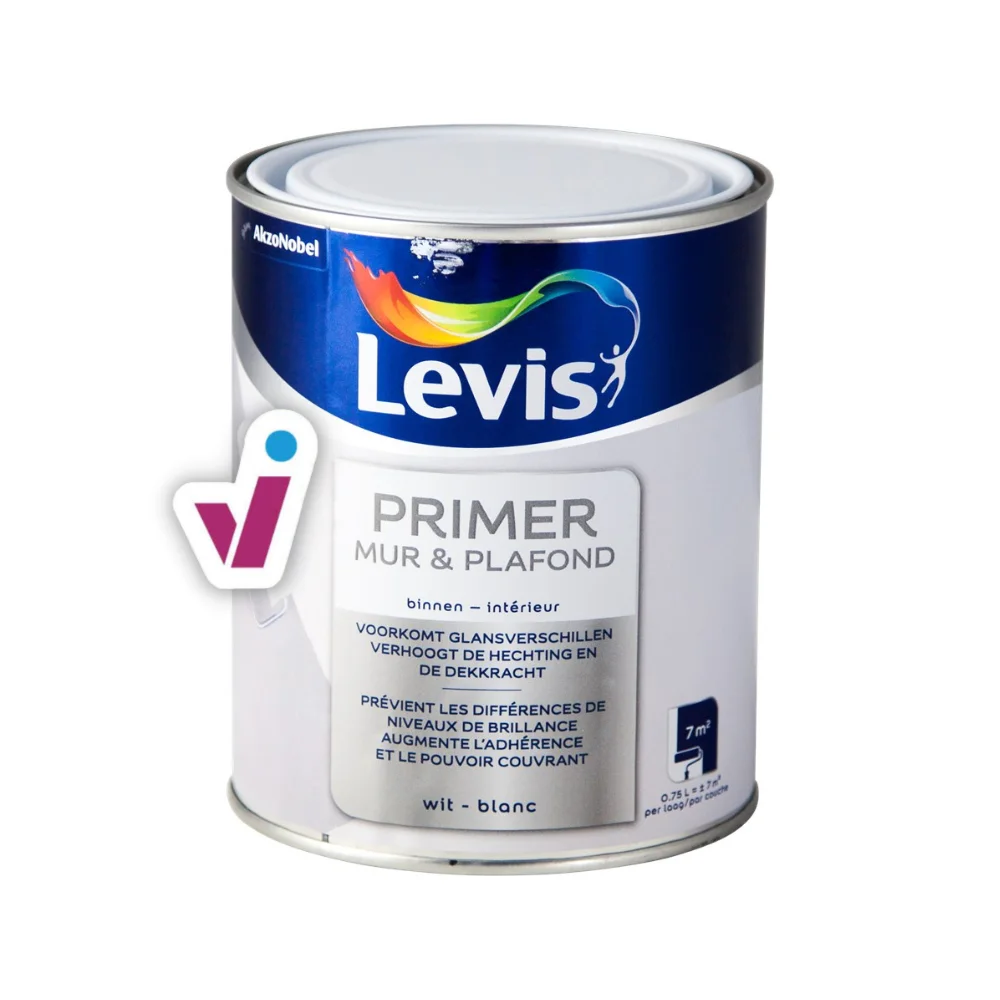
Pigmented absorption-levelling water-based wall primer for indoor use based on acrylate dispersion with "crosslinking technology".
Pigmented absorption-levelling water-based wall primer for indoor use based on acrylate dispersion with "crosslinking technology".
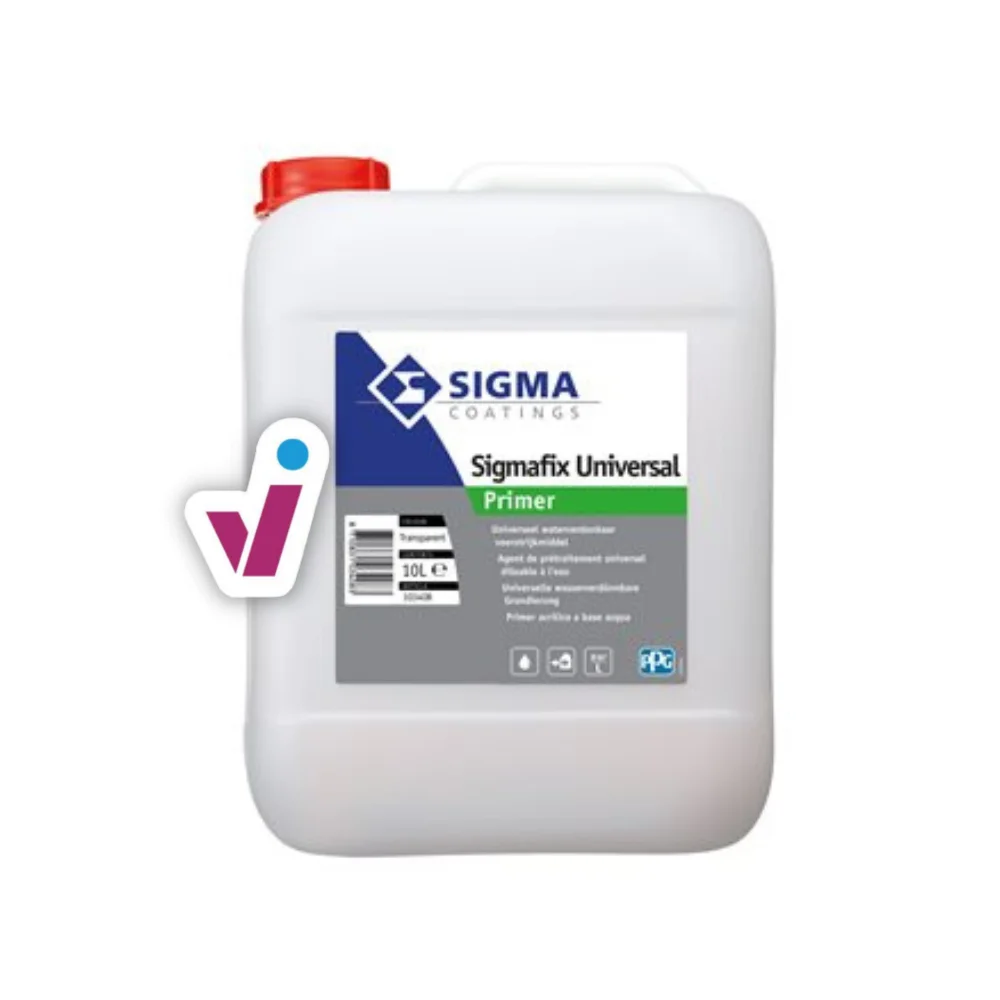
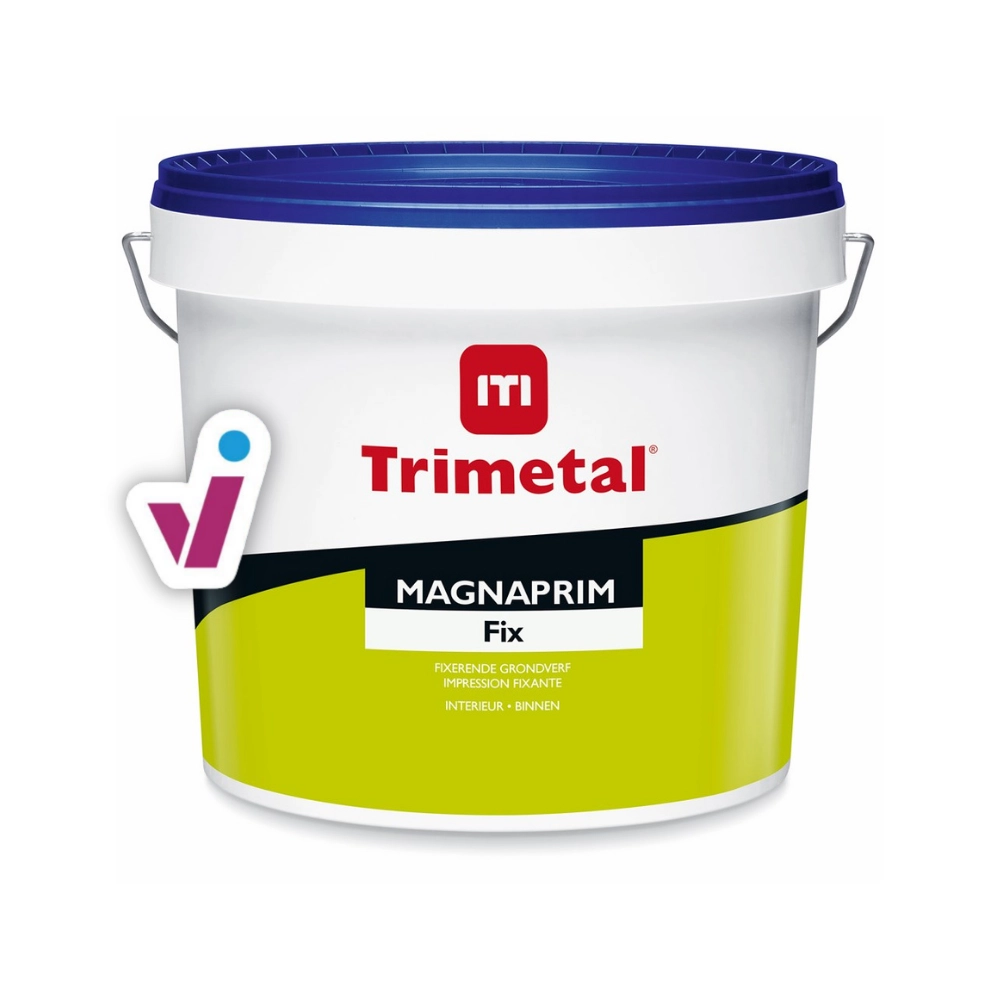
Unpigmented water-based fixer and primer for indoor and outdoor use based on acrylic dispersion.
Unpigmented water-based fixer and primer for indoor and outdoor use based on acrylic dispersion.
For damaged walls
For moisture issues
Matt hygienic fungus-resistant water-based wall and ceiling paint for interior use.
Matt hygienic fungus-resistant water-based wall and ceiling paint for interior use.
Step 3: paint
- Start with the hard-to-reach places, for example, behind a radiator;
- Start where you have the most light (around the largest window, for example) and work away from there;
- Around skirting boards, window and door frames, etc. it's easiest to paint first just next to the tape with a brush, and then continue painting the adjoining section of the wall with a roller. When doing this, do not wait until the paint you've applied with the brush is dry;
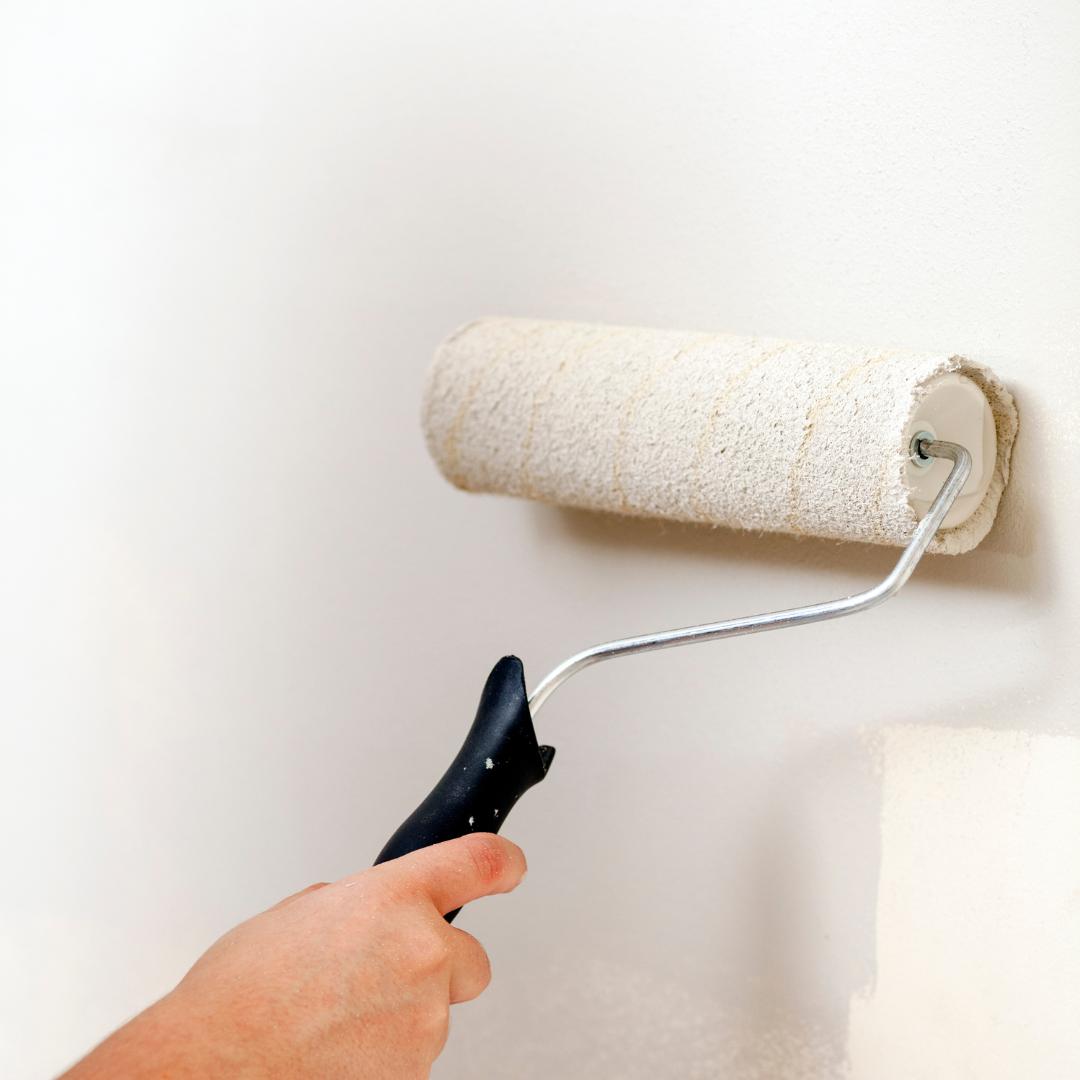
- With the paint roller, it's best to divide your wall into imaginary pieces of about 1 m². Again, make sure that you overlap the different sections while the paint is still wet. Roll in different directions to reduce the chance of having streaks.
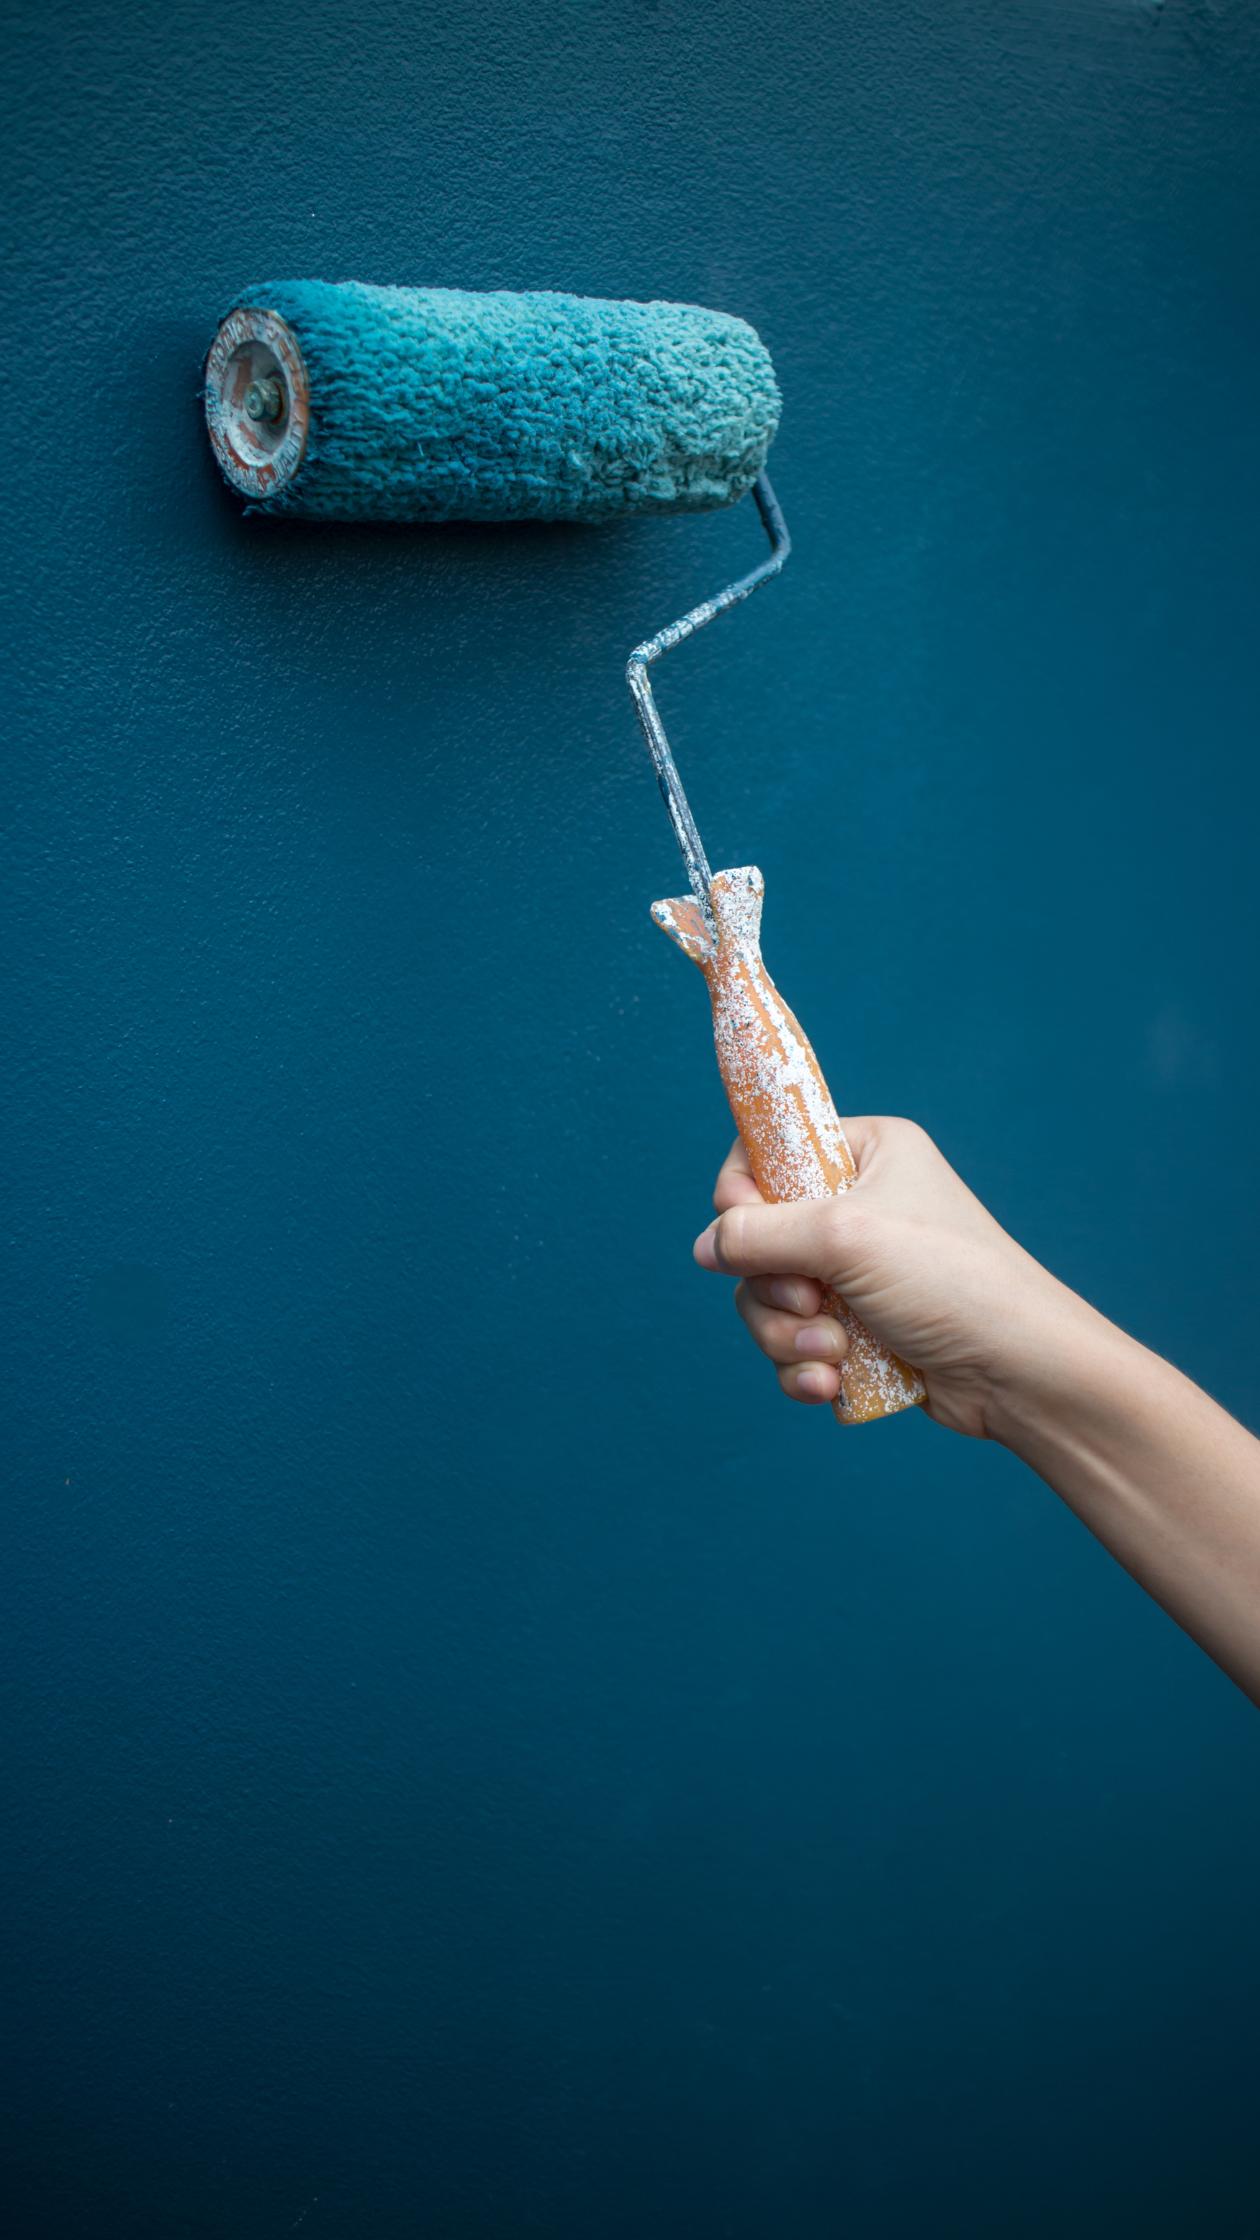
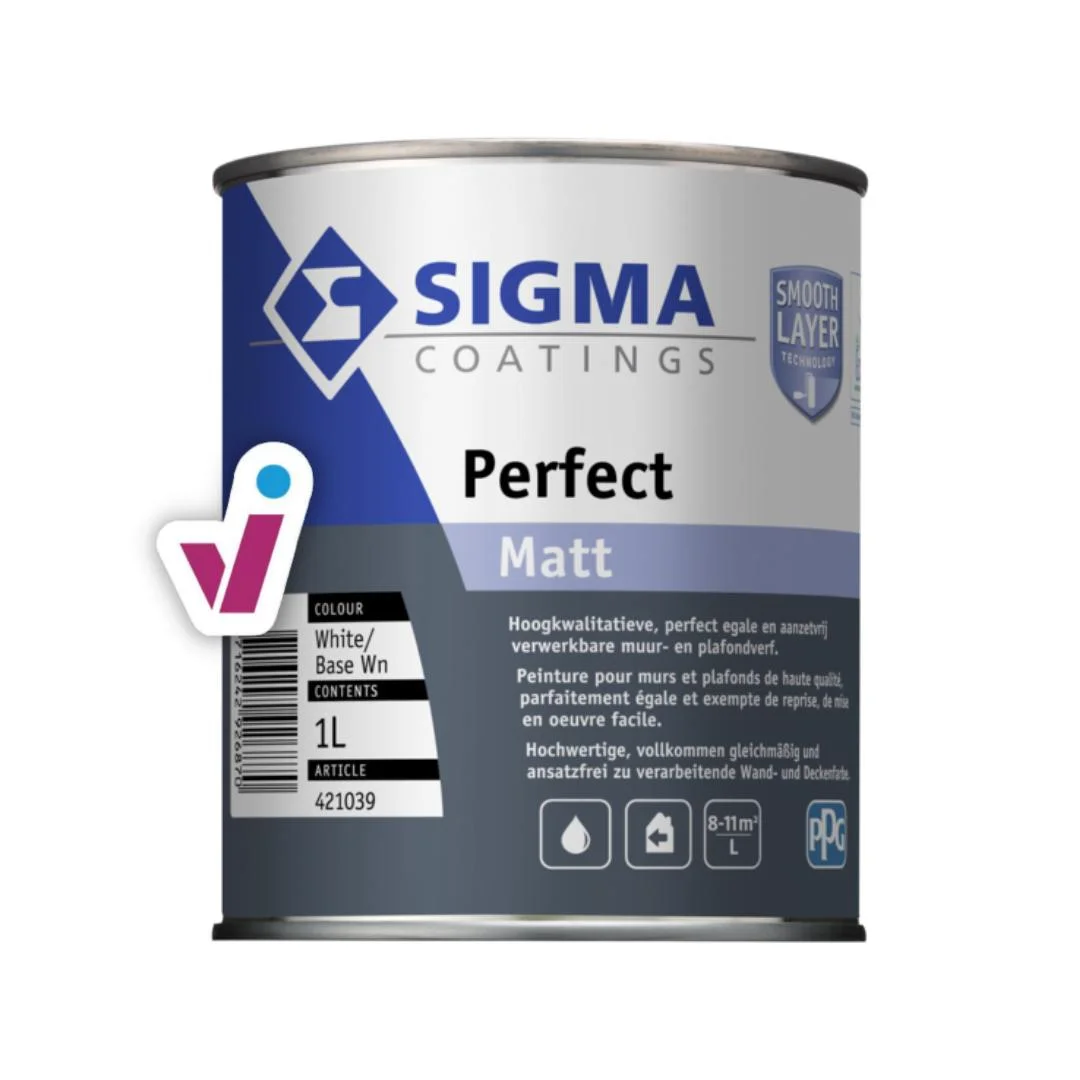
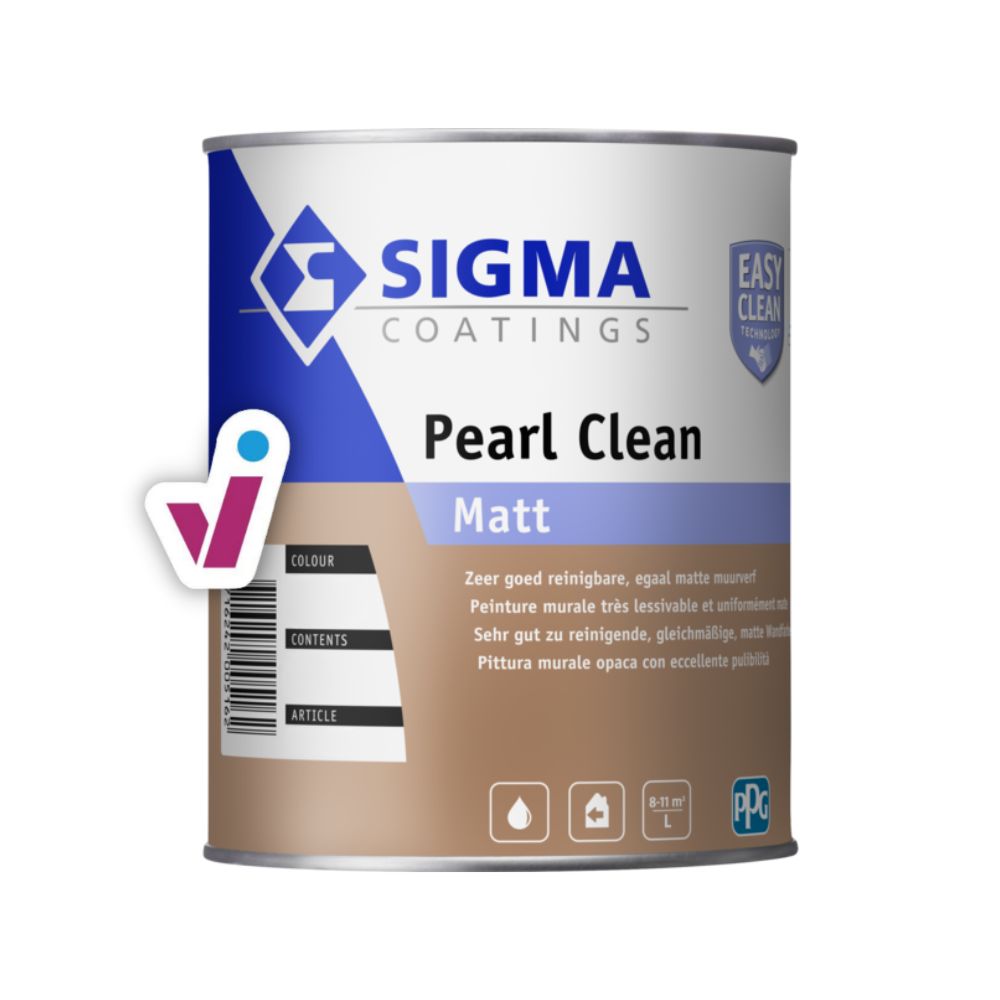
High-quality matt washable paint that not only protects your wall or ceiling from stains but also offers a beautiful decorative aspect.
High-quality matt washable paint that not only protects your wall or ceiling from stains but also offers a beautiful decorative aspect.
Checklist
- Degrease and clean the wall
- Fix damages if there are any
- Apply primer
- Paint to perfection
- Wall done! 😉
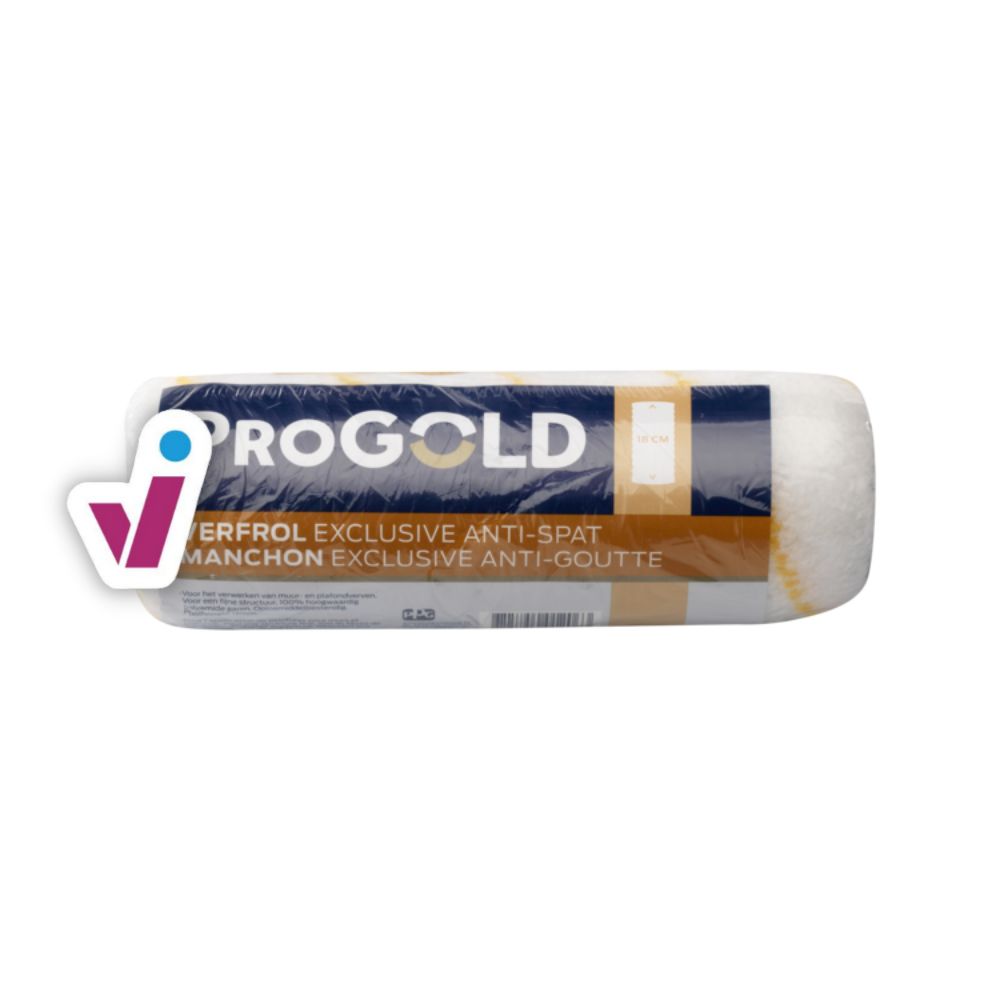
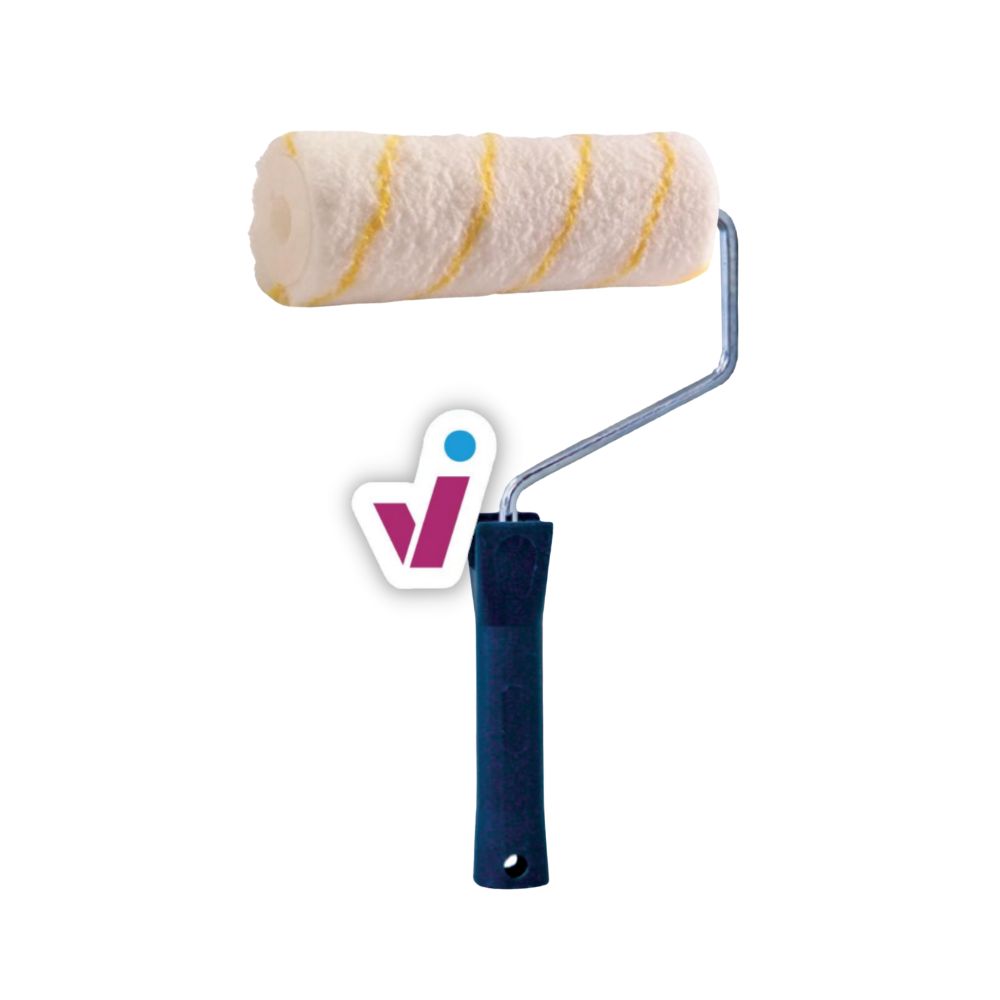
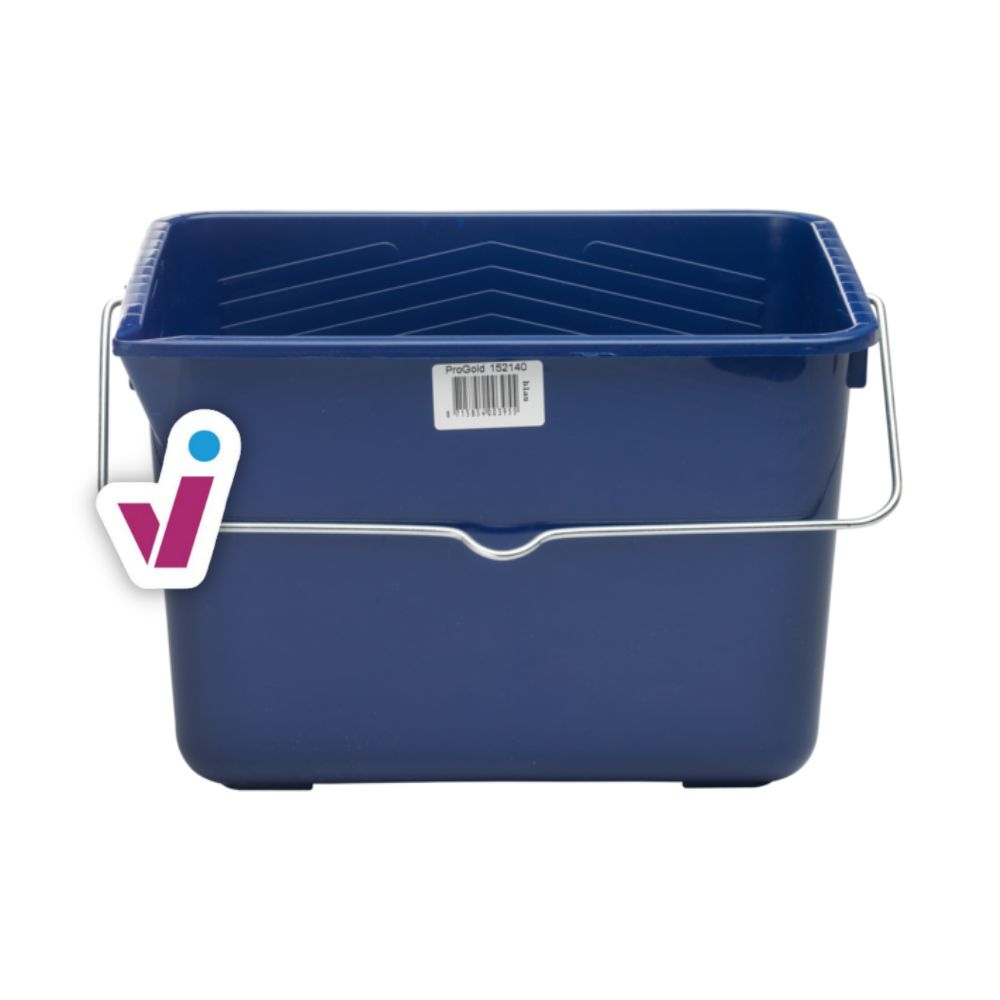
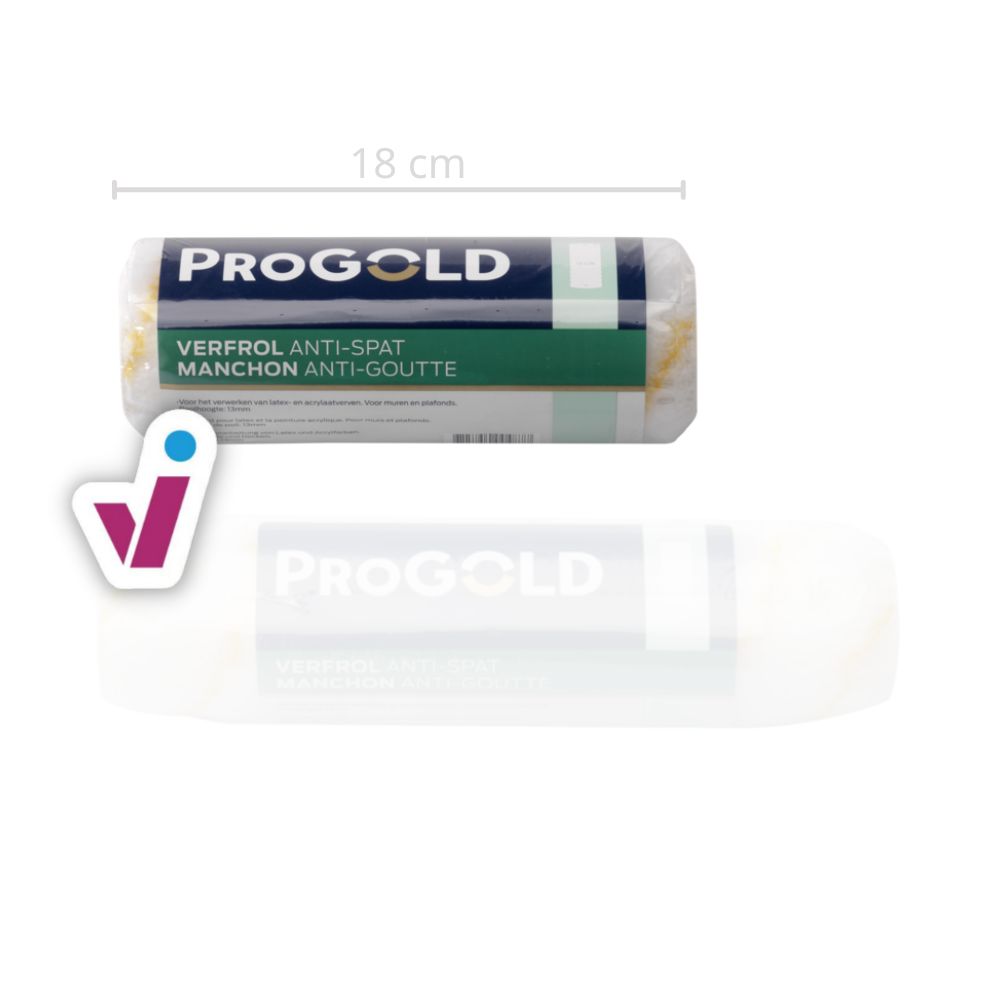
Useful tools
Need help?
If some of the steps aren't entirely clear to you, or if you are in a specific situation that isn't covered by our how-to guide, then our experts will be happy to help.
Useful tools
Need help?
If some of the steps aren't entirely clear to you, or if you are in a specific situation that isn't covered by our how-to guide, then our experts will be happy to help.


