How to: paint the ceiling
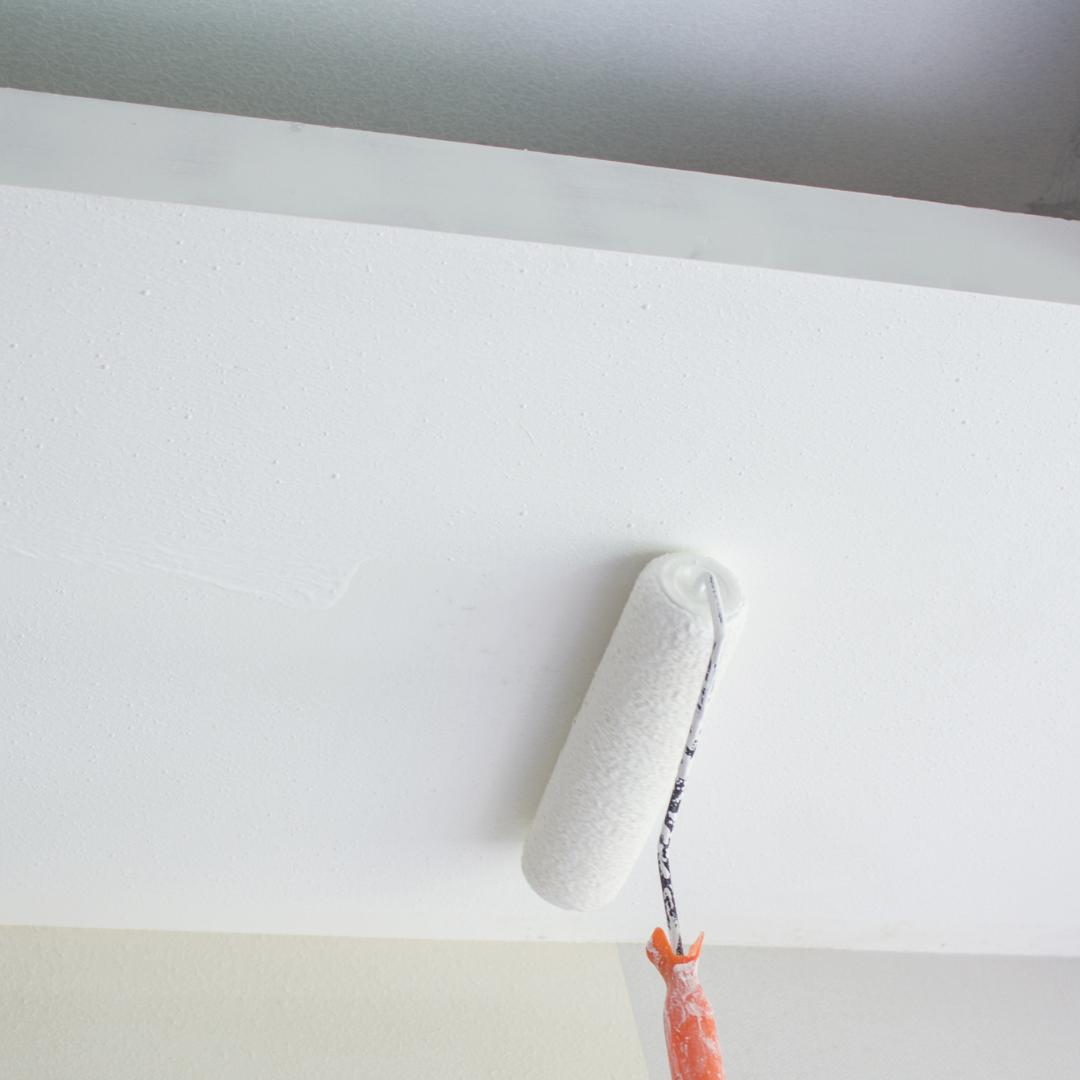
The ceiling: not something you'll be staring at the whole time. Nevertheless, it's still a part of the room that is pretty visible, and that can make quite a difference in what the room looks like, so chances are you want to have it look neat.
Painting a ceiling is not exactly rocket science, but it can be a little bit more challenging than painting a regular wall. So, how do you paint a ceiling? Which paint do you need? How can you prevent those dreaded stripes?
All the answers can be found right here!
Step 1: preparation
Many consider preparing the surroundings to be one of the less fun tasks. However, when painting the ceiling, it can turn out to be one of the most important ones. You might want to take a few precautionary measures against possible paint splatter and/or gravity interference.
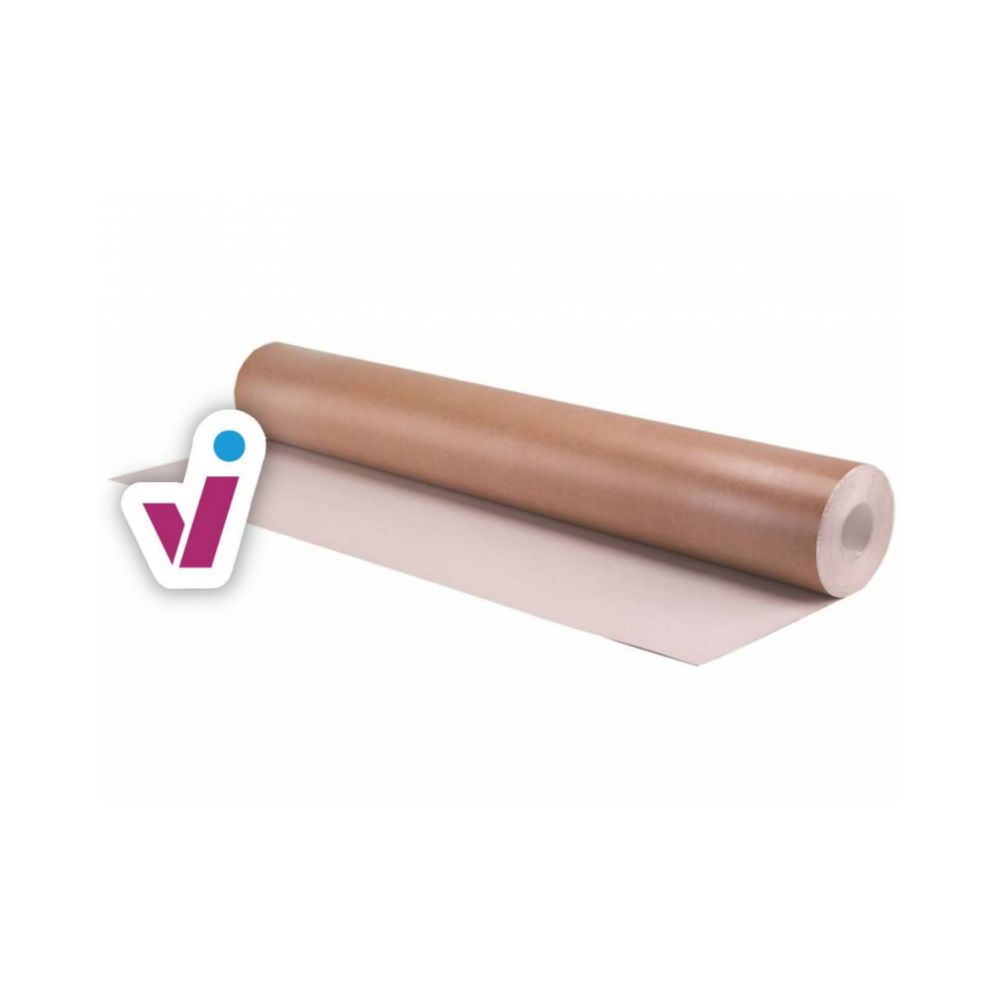
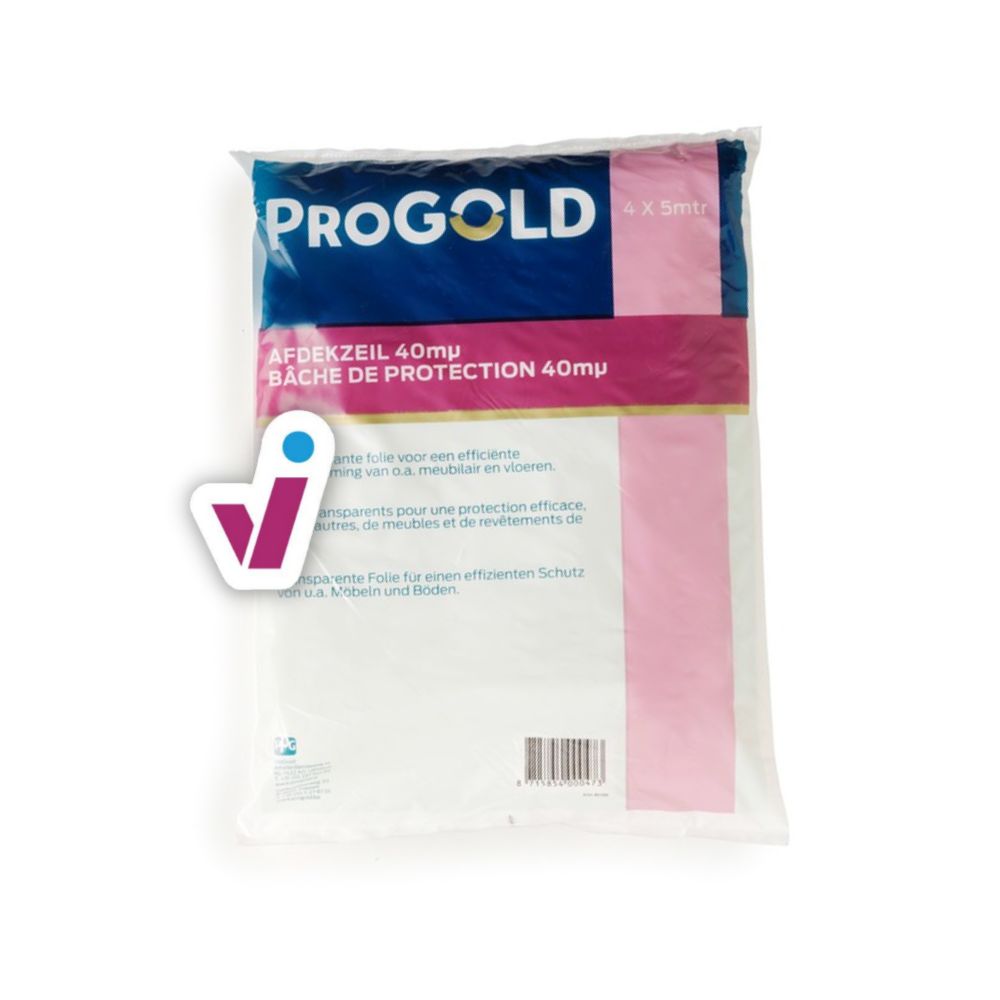
Perhaps you want to start with the easy part 😊 i.e. covering the floor and the furniture. For the floor, a cardboard cover roll is the most convenient. For furniture, the safest solution is obviously taking it out of the room. If that's not possible, you could use a cover sheet.
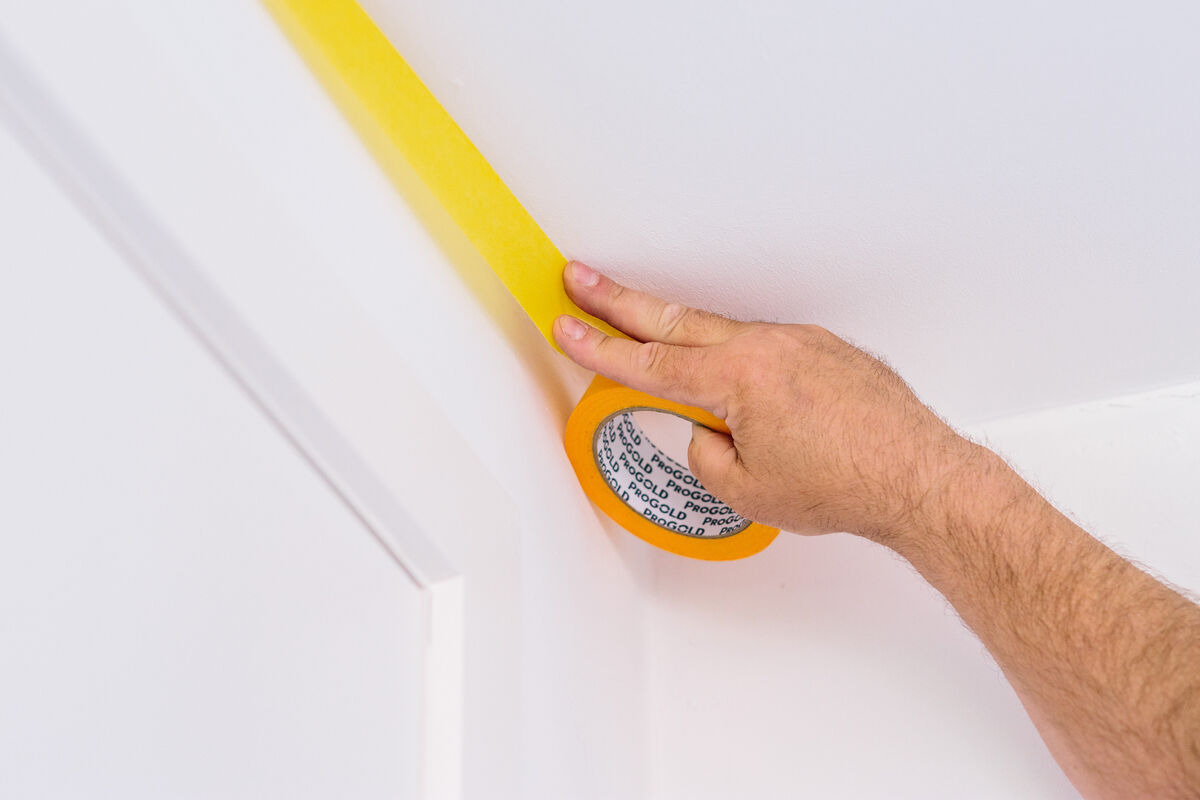
Next, you can start taping off the top borders of any adjacent walls, using the appropriate masking tape. To be completely safe, we recommend also covering the upper parts of the walls, using cover foil and masking tape. Also important: do not forget to cover tape off the skirting boards.
💡TIP - Are you planning on painting both the walls and the ceiling? Then it's a good idea to start with the ceiling. That way, should you still have any paint splatters on the walls, you can still cover them up.
Step 2: creating the perfect base
Finished the preparations? Way to go! 🥳
Now, let's go on to the next step: preparing the ceiling's surface. First, check what its condition is. Is it a new ceiling, or has it been painted before? Is it plaster of wood? Are there irregularities or damages? Maybe stains?
Depending on the state of your ceiling, you can pick one or more of the preparation steps below.
A previously painted ceiling
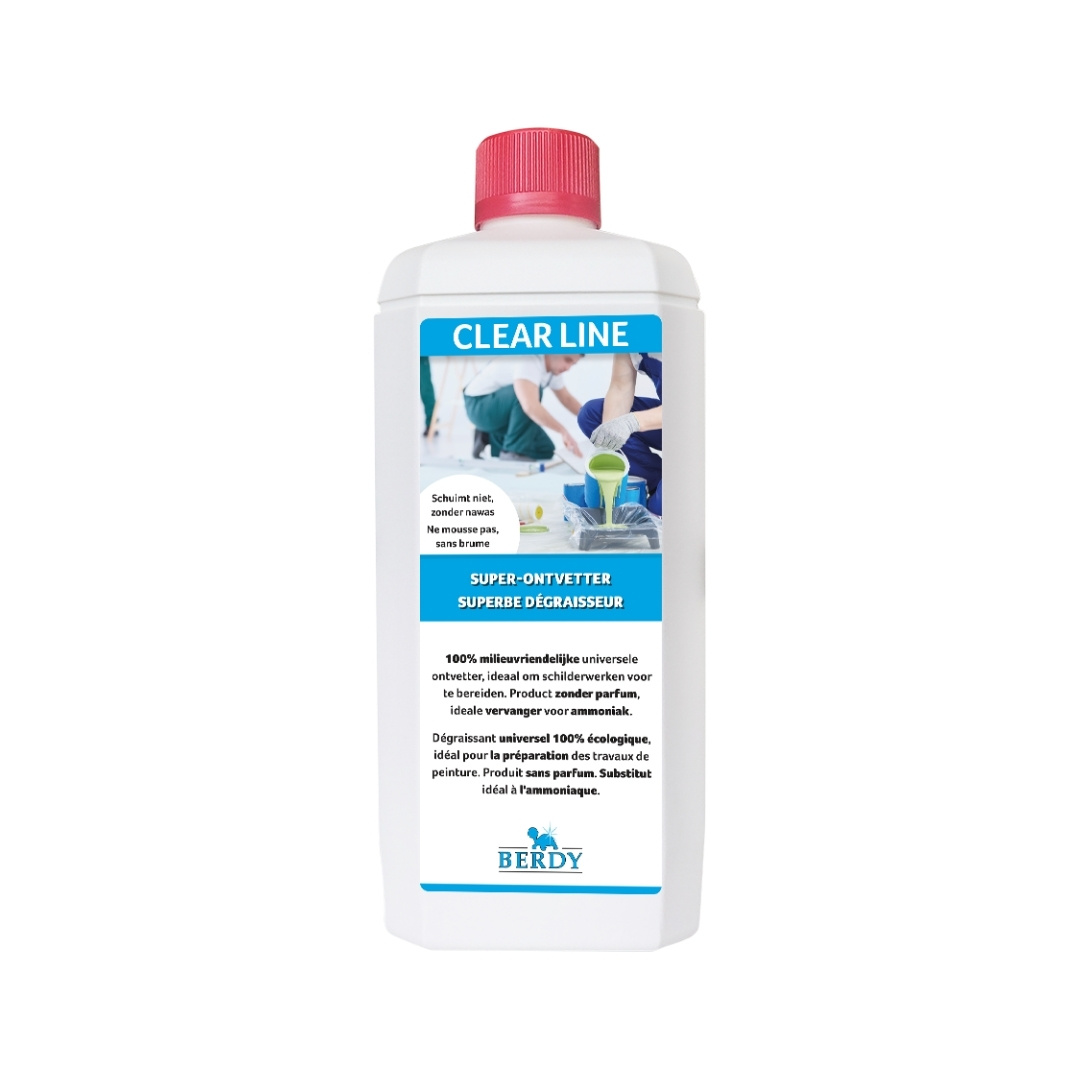
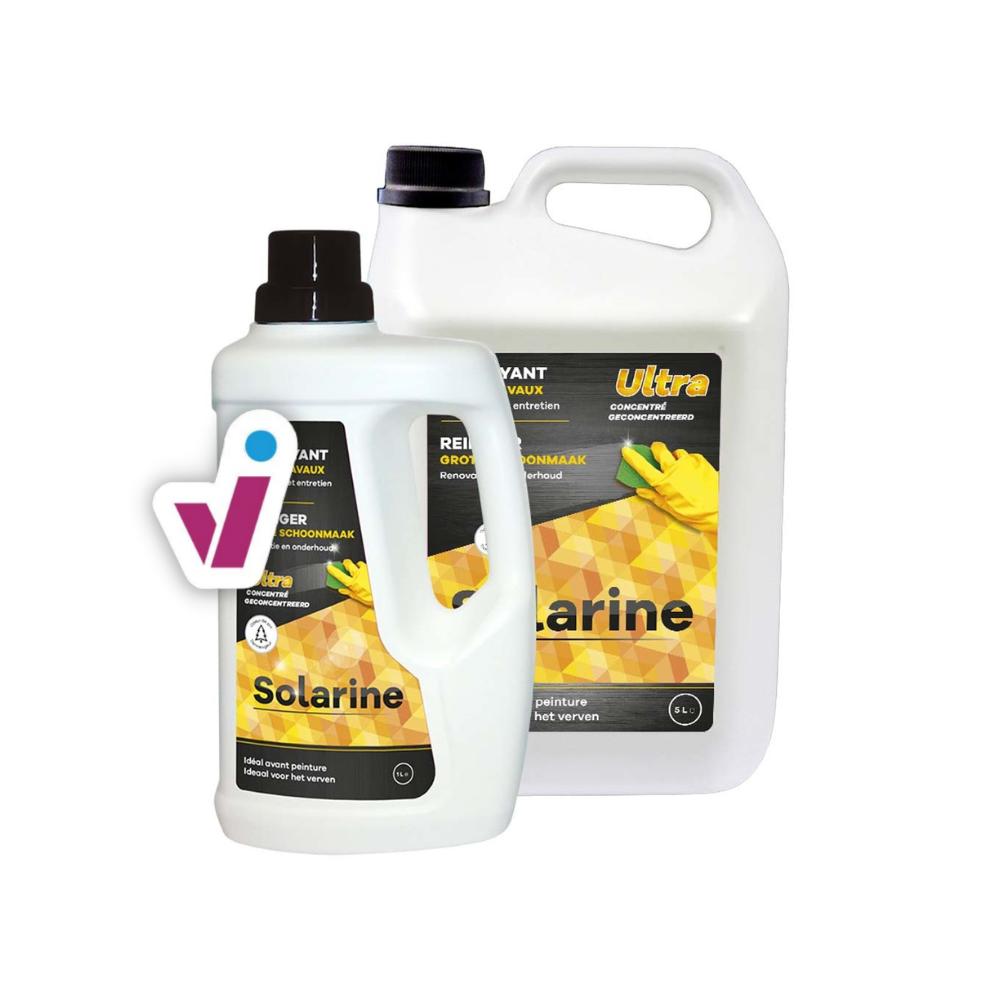
A ceiling that has been painted before commonly does not require all that much further preparation. Nevertheless, that does not mean you can skip this step! Different particles in the air rise up and often stick to the ceiling, leaving behind a layer of grease or dirt. A thorough cleaning and degreasing job is therefore imperative when you wish to end up with a perfectly painted ceiling.An unpainted or porous ceiling
For ceilings in newly built houses, the first thing to do is to determine whether or not it is the right time to paint yet.
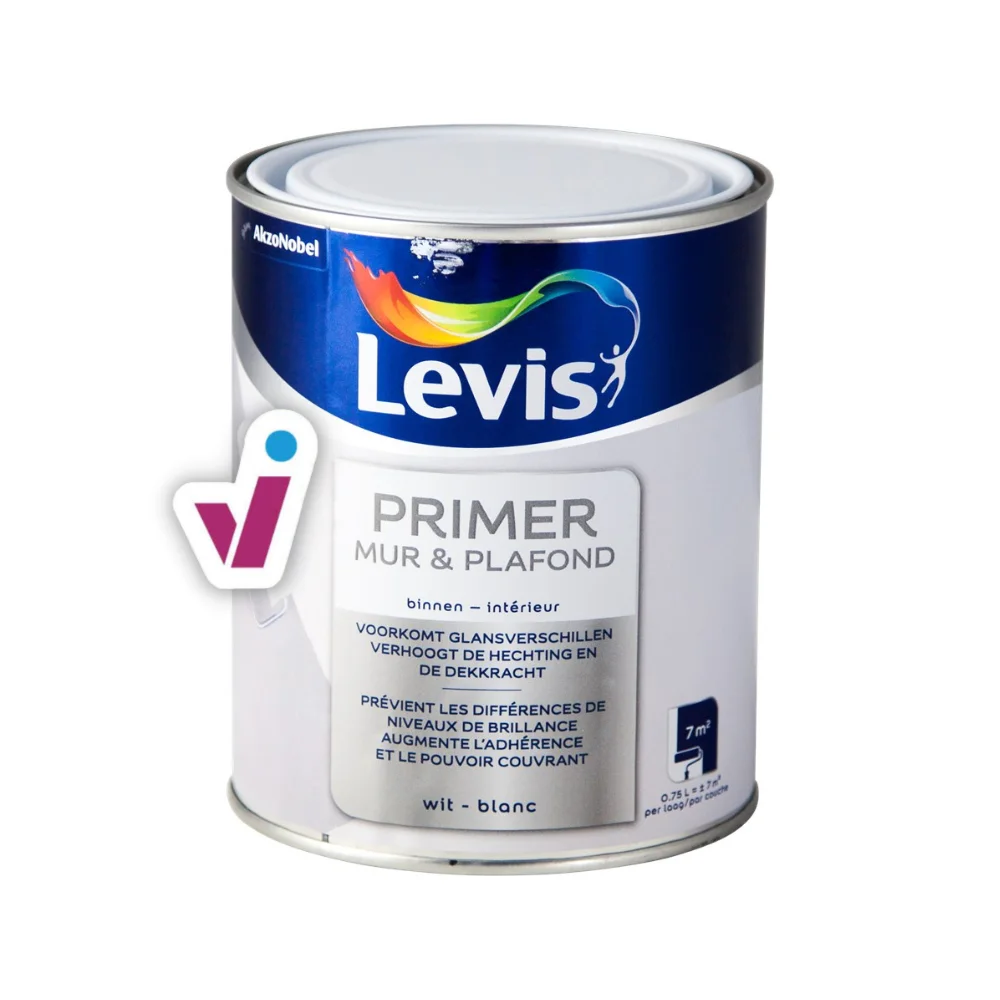
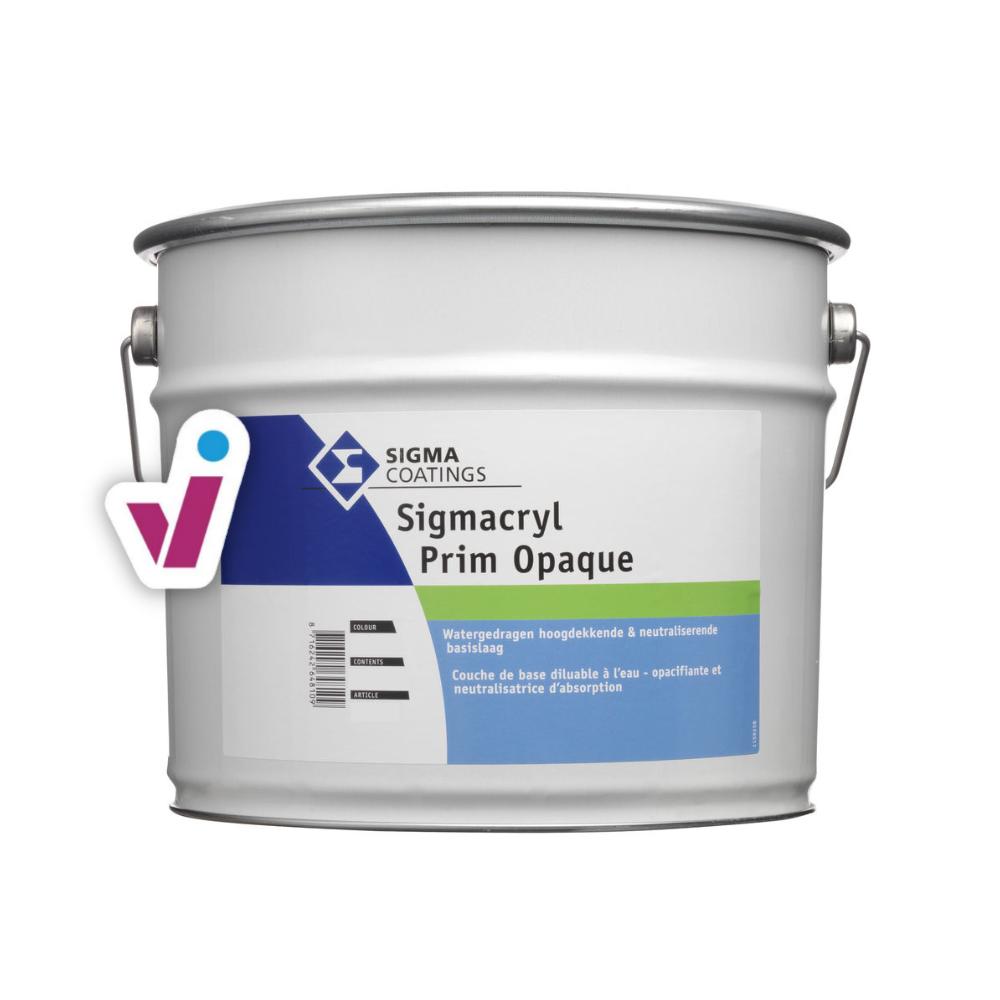
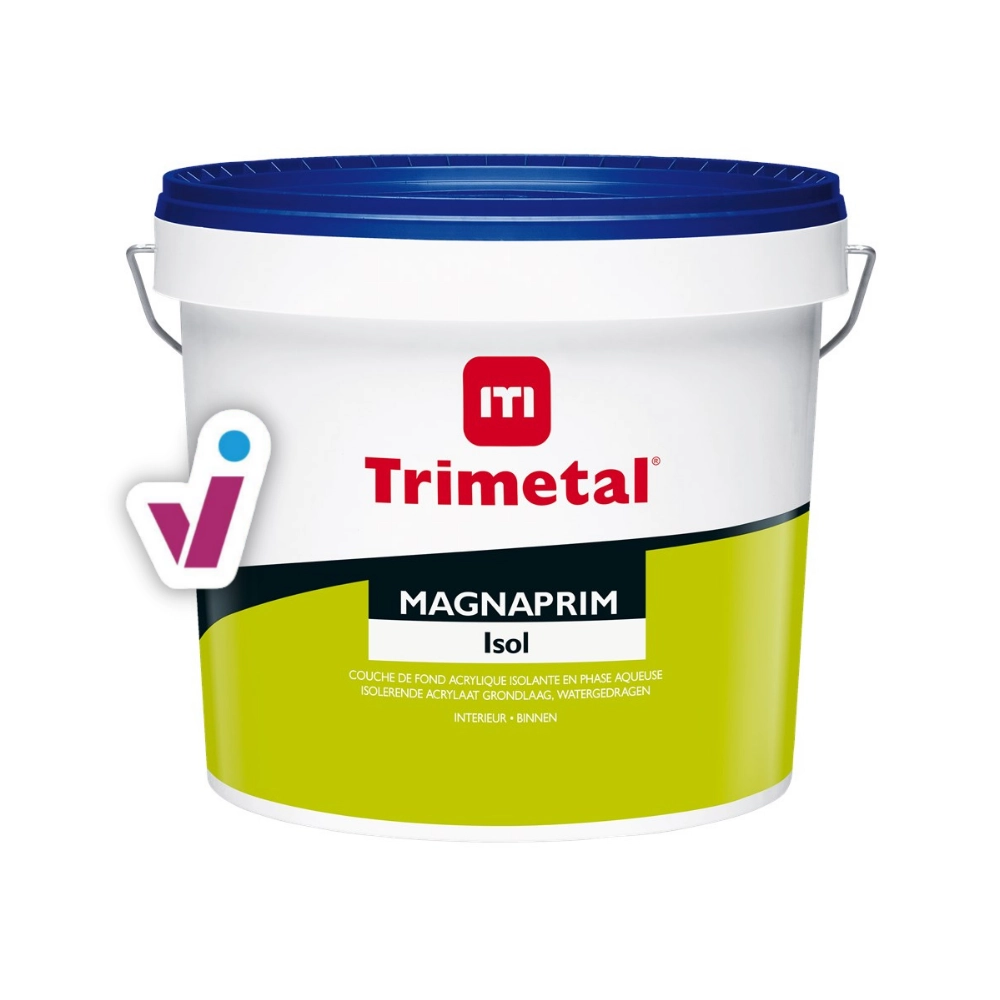
Apart from that, for a new, unpainted ceiling, the primer is extremely important. It will ensure proper adhesion of the following paint coats and great coverage, and it will prevent possible differences in colour.
💡 TIP - primers aren't all white or grey at all. Order your primer in the same colour as your ceiling paint.
To find out how to apply the primer, switch to the tab "painted ceiling" above.
A damaged ceiling
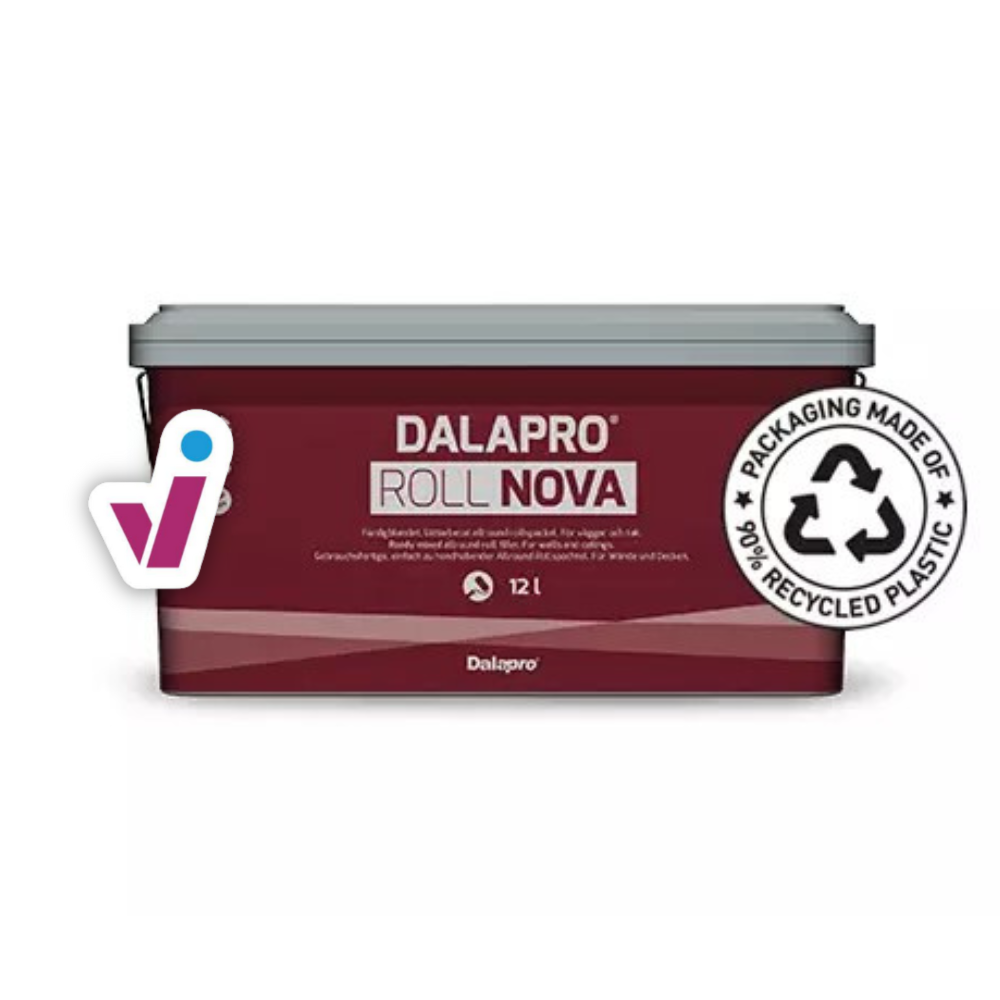
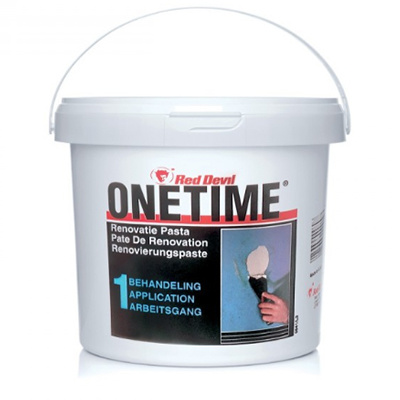
Are there small cracks or other minor irregularities in the ceiling? Those can be quickly covered up with renovation paint. Another option is to apply a very fine layer of filler. You might prefer to use a rollable filler for your ceiling, as rolling (with an extension) is a convenient way to work above your head.
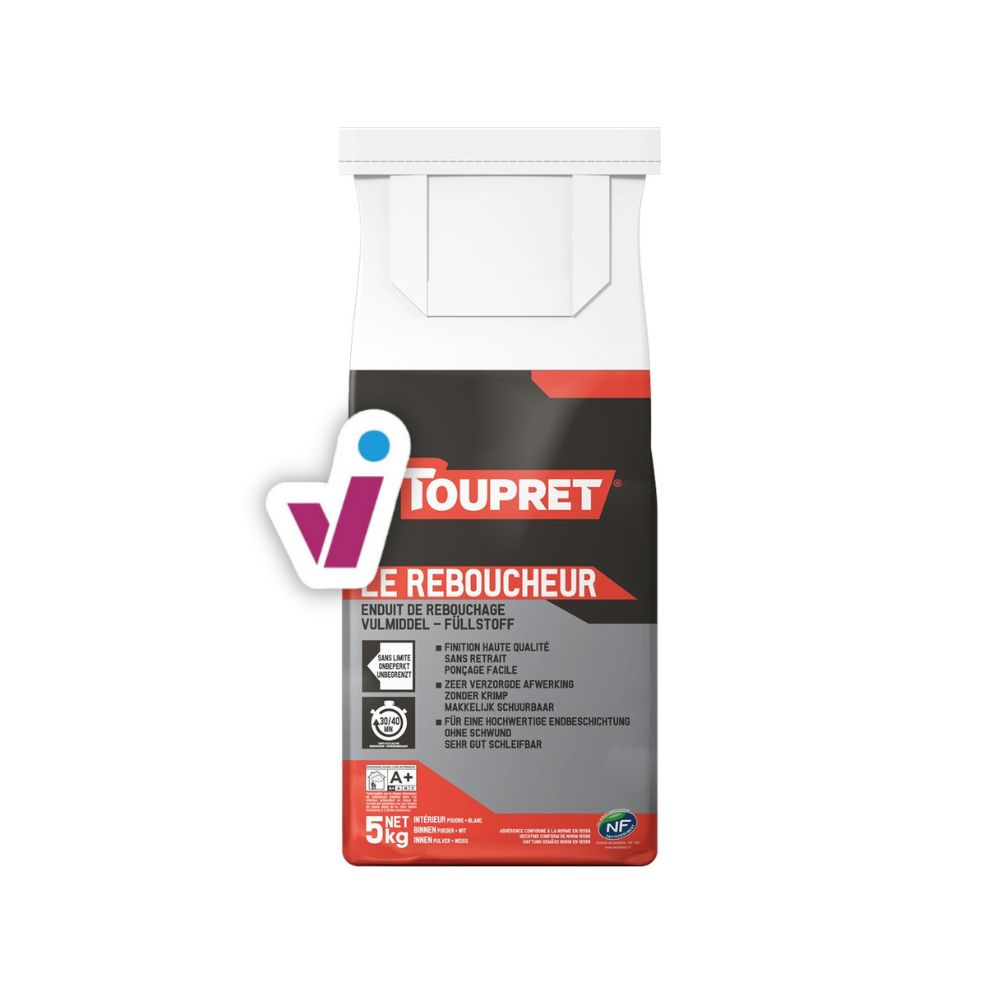
For larger cracks, holes or other damages, you will need an appropriate filling agent.
A wooden ceiling
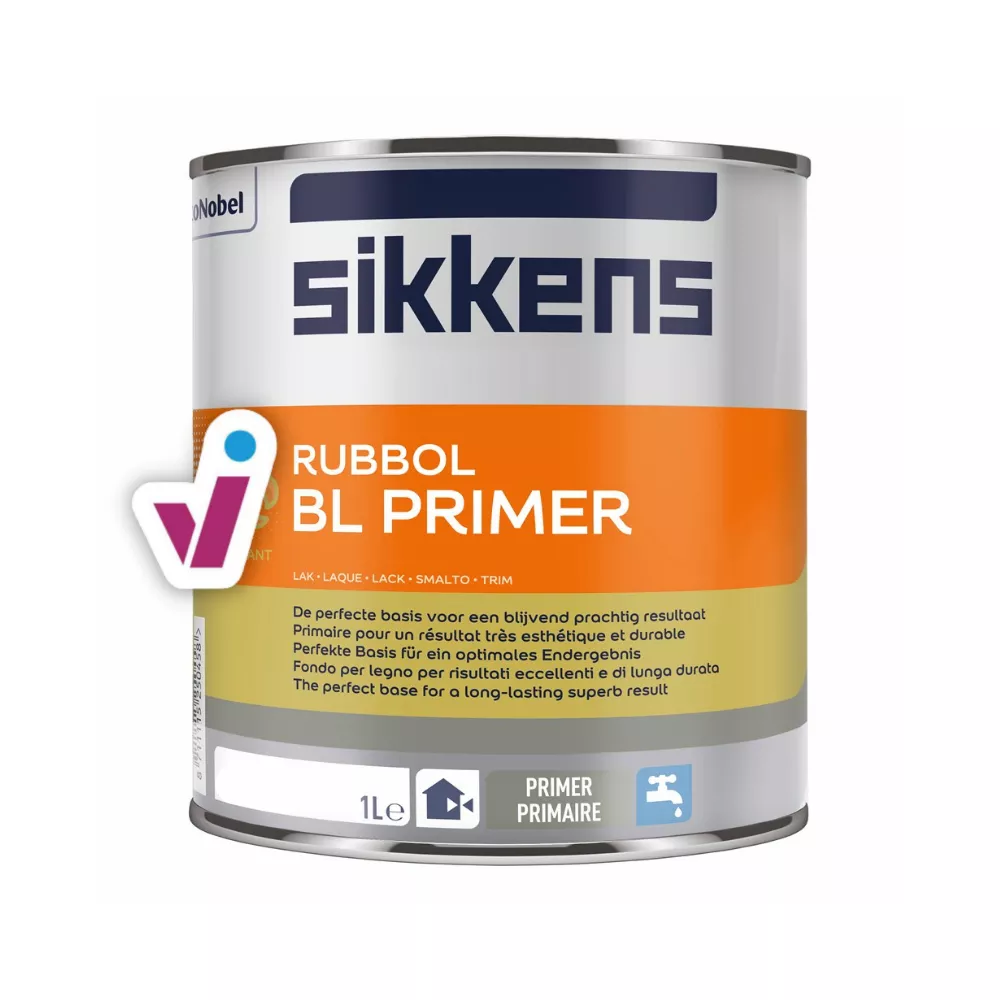
For a wooden ceiling, the steps are similar to the steps for a previously painted ceiling. You'll also have to start off by cleaning and degreasing the wood (and letting it dry completely), but you'll be using a different kind of primer. Wood requires a lacquer instead of wall and ceiling paint.
You will also need a special wood filler for filling up possible cracks or other damages, and it is recommended to sand the wood before starting to paint. Make sure to remove any sanding dust.
Use a brush to apply a first layer of primer. The brush will allow you to paint for example the connections between the paneling of the ceiling. Continue by smoothing out the paint layer with a felt roller. Follow the direction of the wood paneling first, roll out across second, and finish by rolling in the paneling's direction once more.
Re-painting
Damages
Wooden ceilings
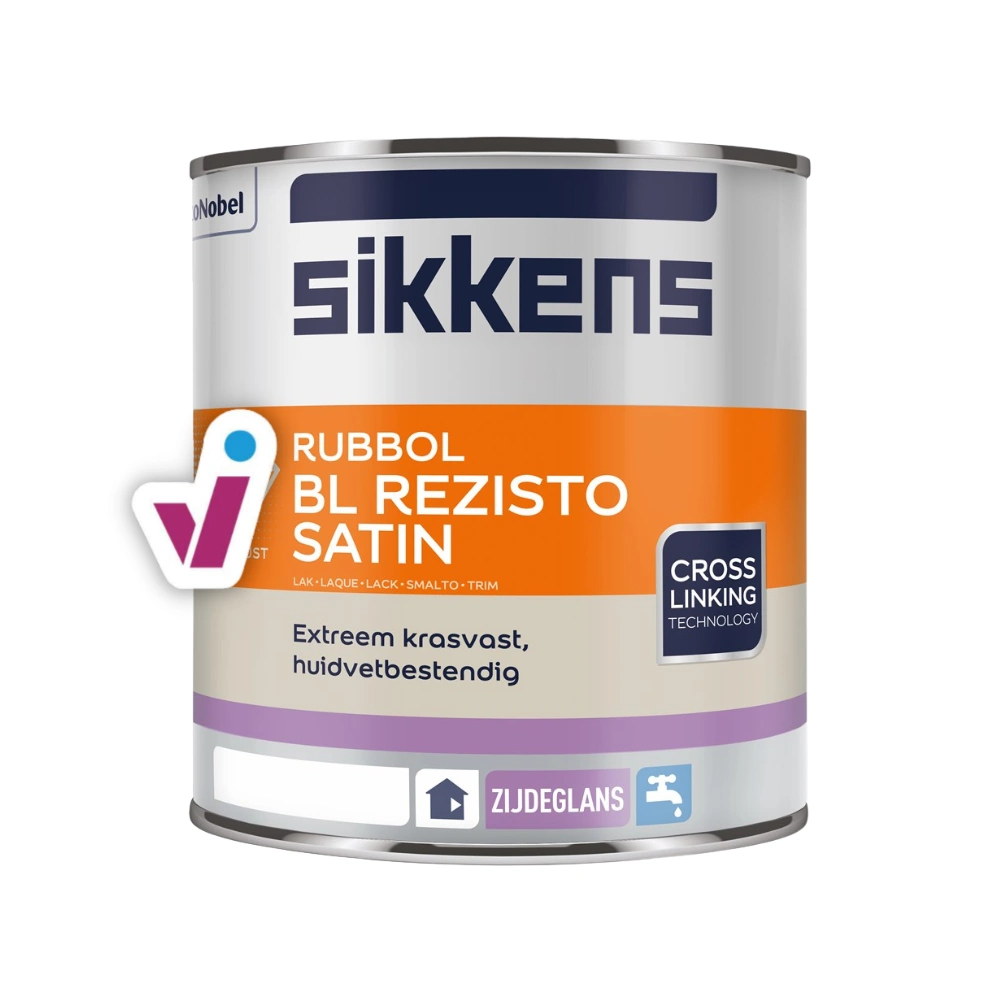
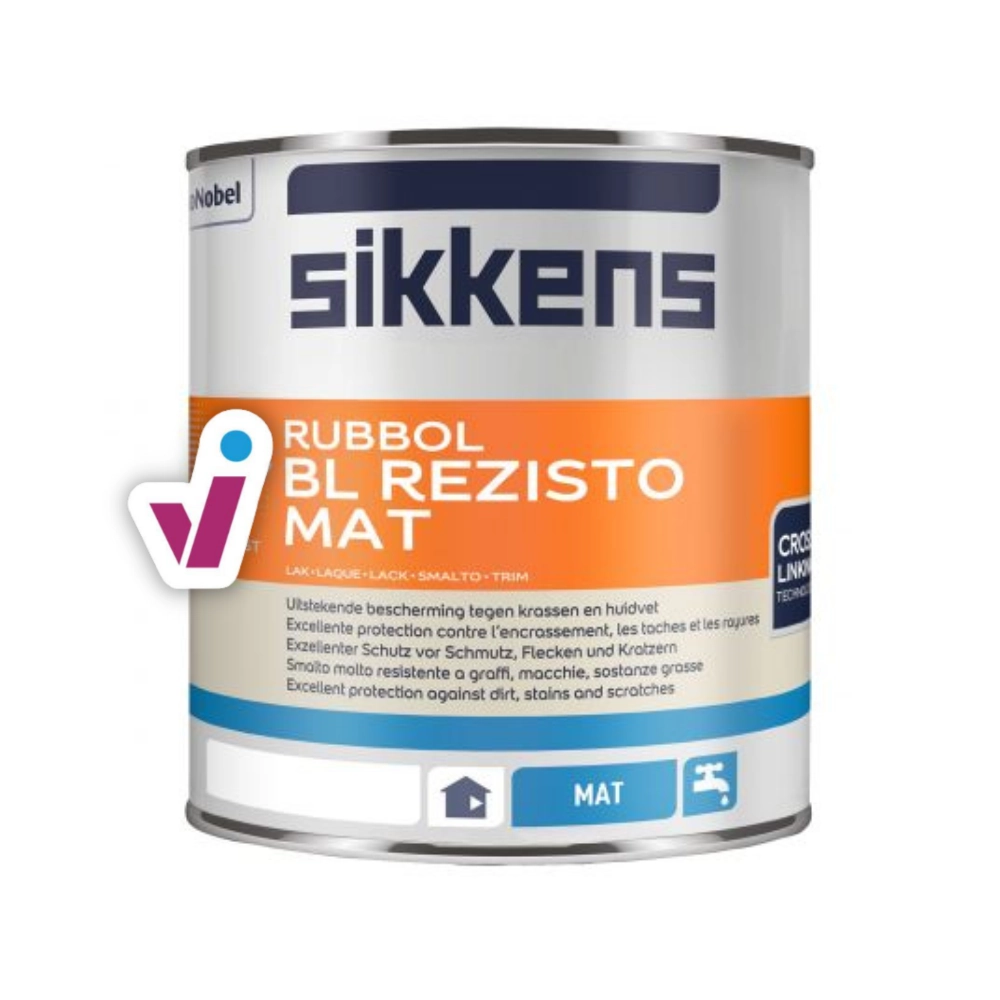
An extremely scratch-resistant and skin grease-resistant finishing paint for interior use.
An extremely scratch-resistant and skin grease-resistant finishing paint for interior use.
Re-painting
New ceilings
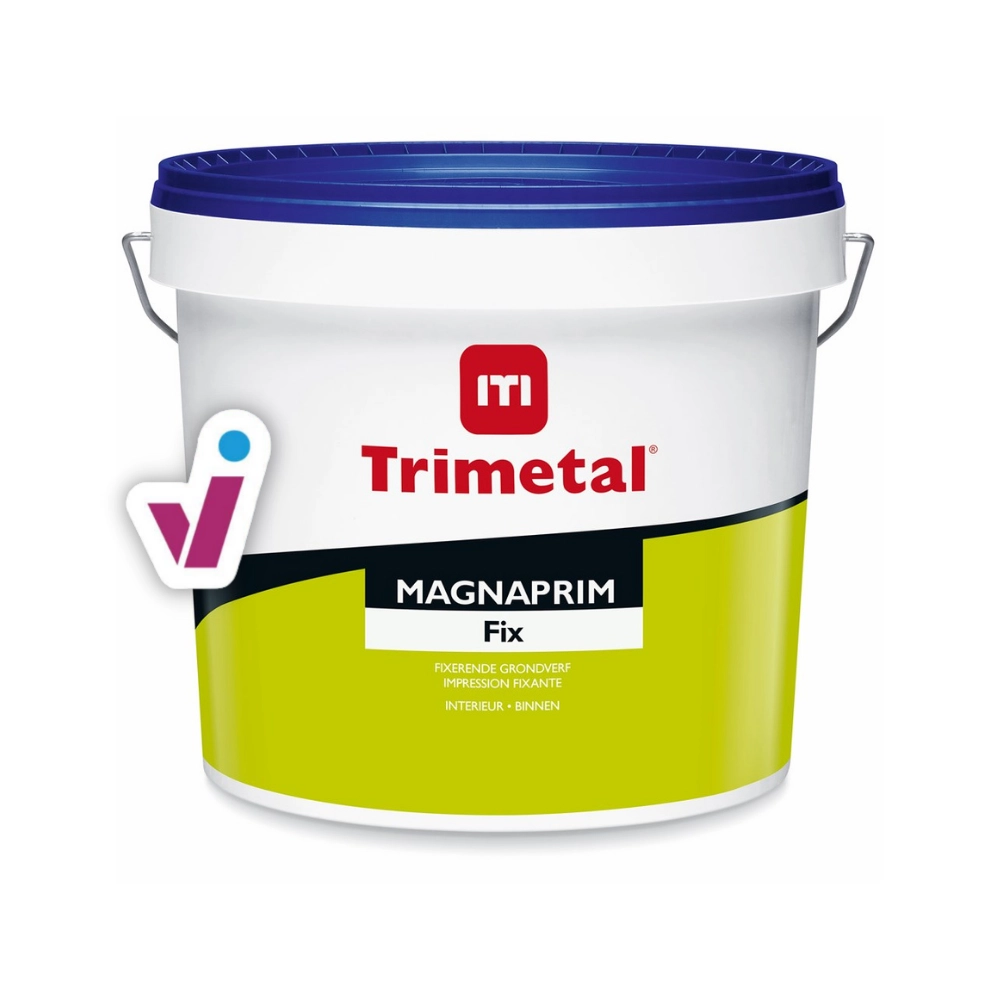
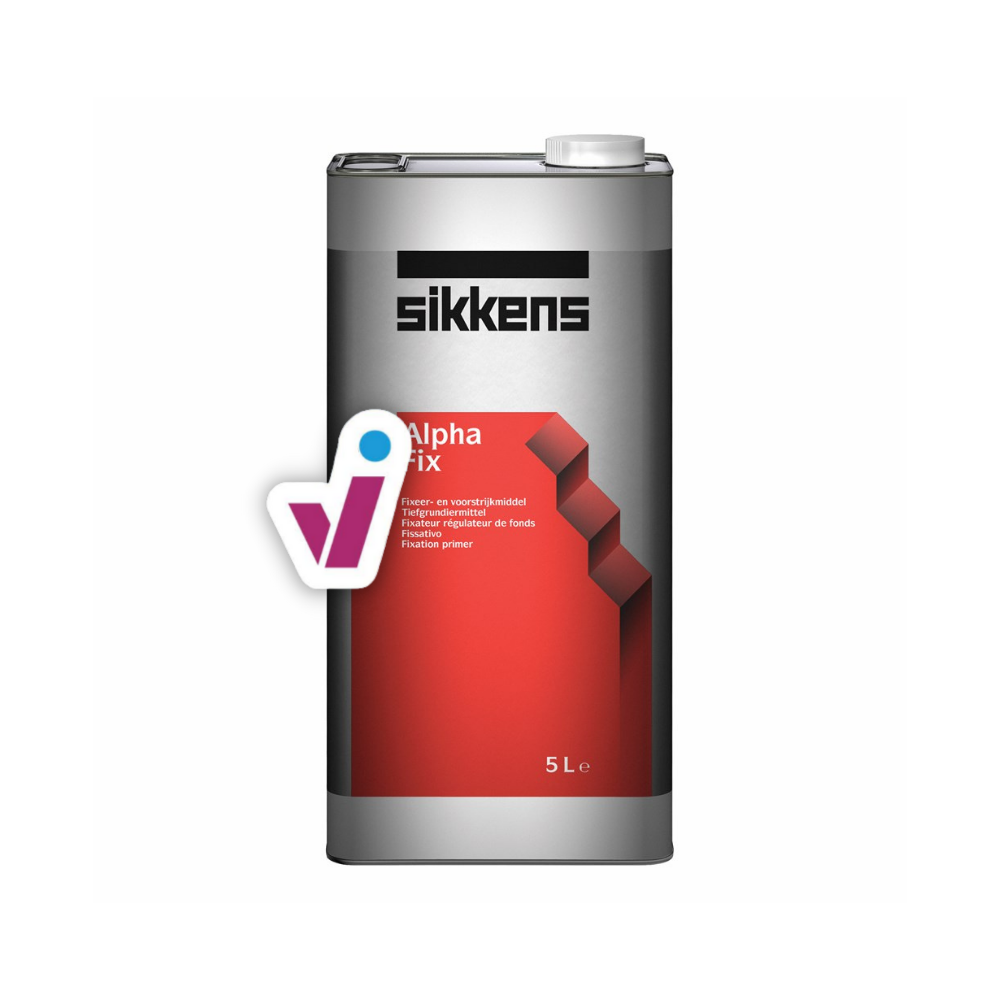
Unpigmented water-based fixer and primer for indoor and outdoor use based on acrylic dispersion.
Unpigmented water-based fixer and primer for indoor and outdoor use based on acrylic dispersion.
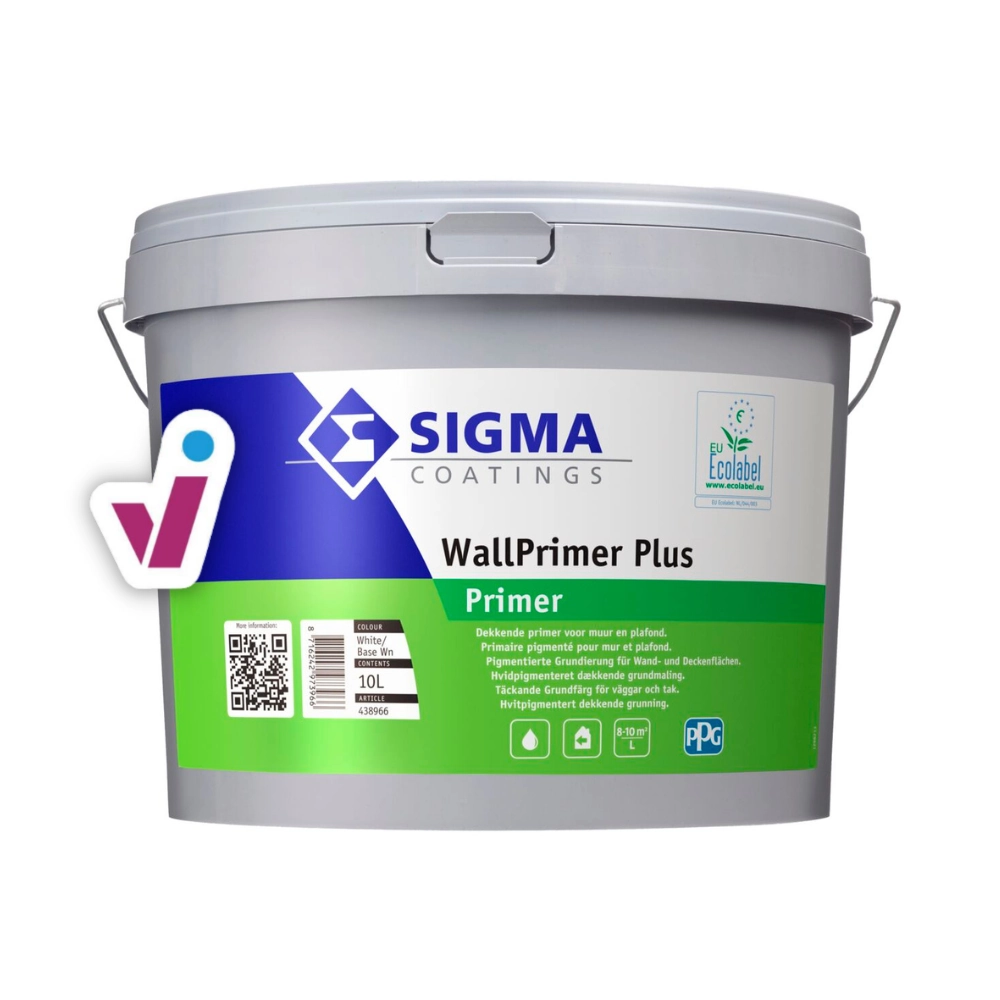
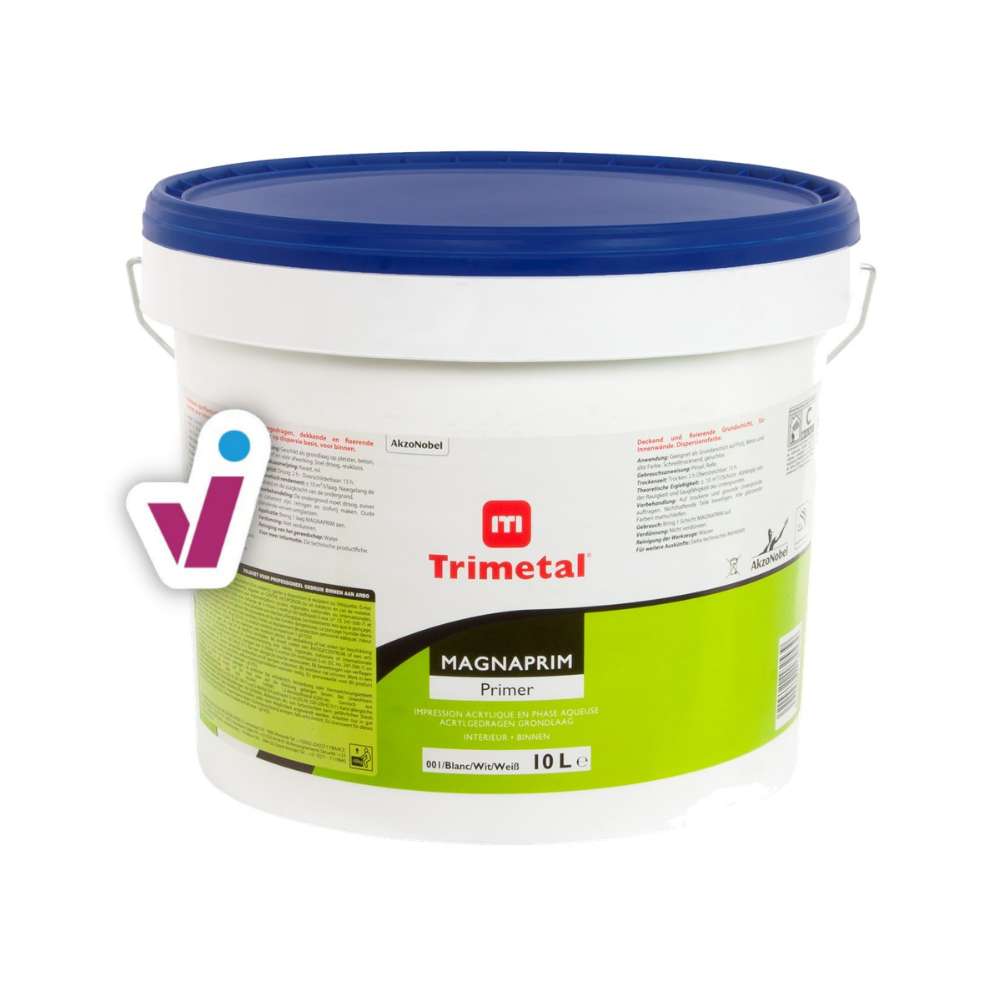
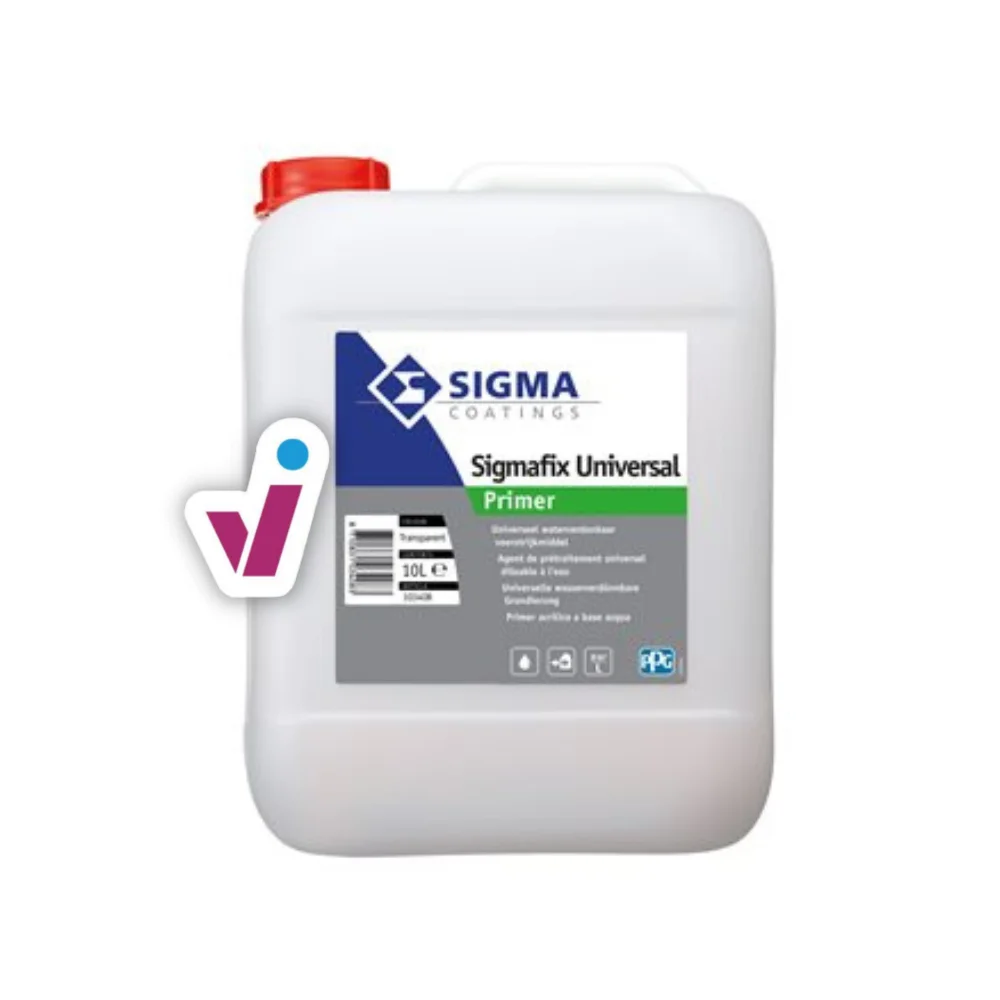
Water-based fixative primer for interior walls and ceilings. This primer improves paint adhesion, evens out surfaces, and enhances the durability of subsequent paint layers. Suitable for various substrates, it provides a professional foundation for quality interior finishes.
Water-based fixative primer for interior walls and ceilings. This primer improves paint adhesion, evens out surfaces, and enhances the durability of subsequent paint layers. Suitable for various substrates, it provides a professional foundation for quality interior finishes.
Damages
Wooden ceilings
An extremely scratch-resistant and skin grease-resistant finishing paint for interior use.
An extremely scratch-resistant and skin grease-resistant finishing paint for interior use.
Step 3: paint
You're doing great! It's now time for the third and final step: applying the final paint layer.
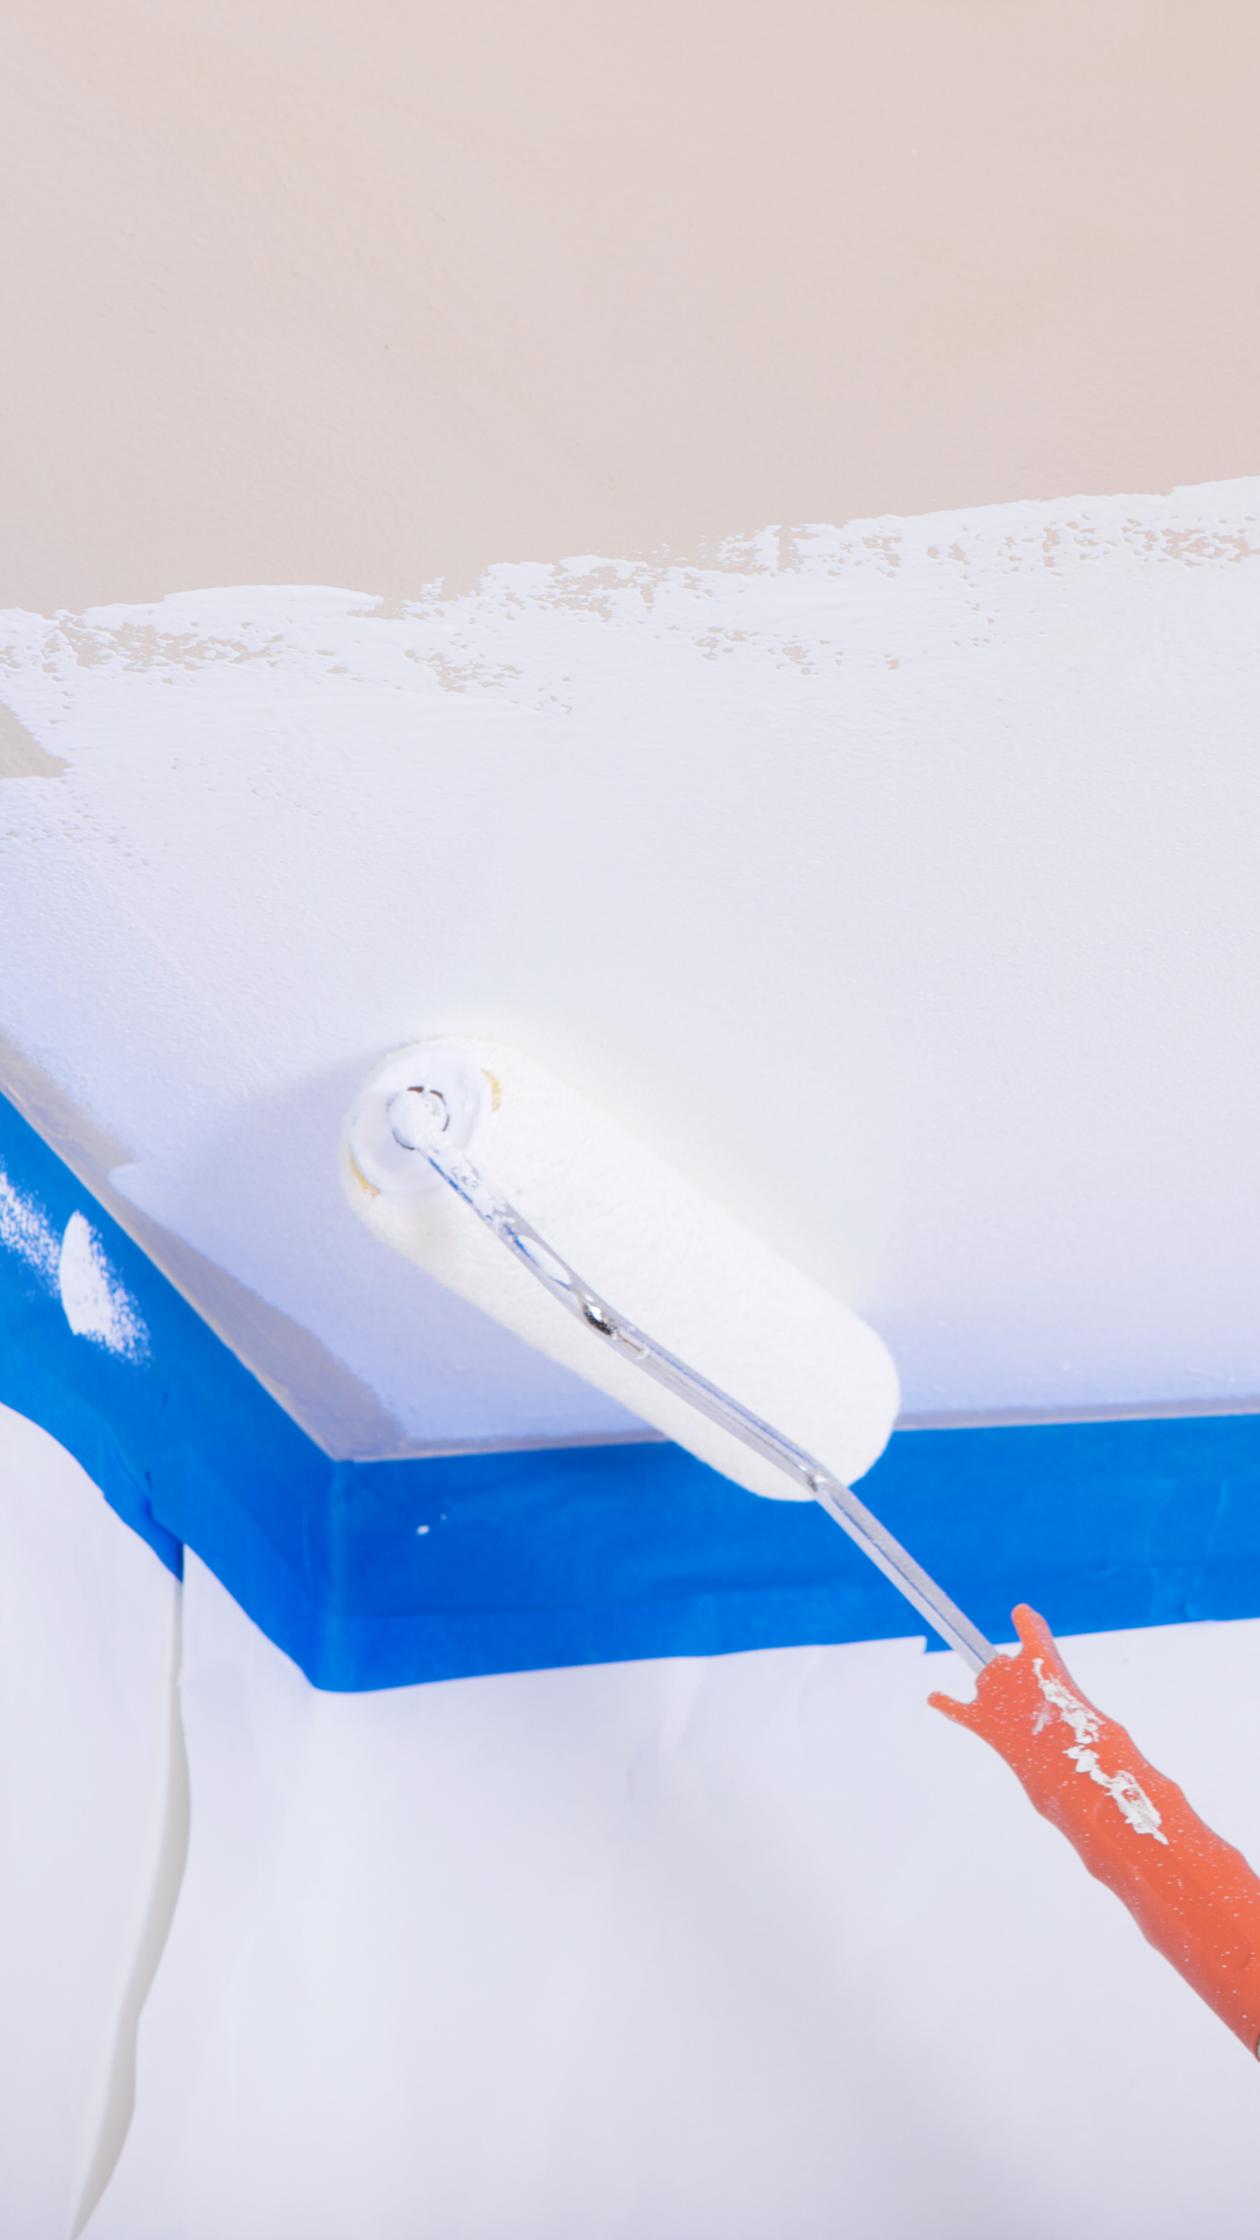
You can do this the same way as described in step two, under the tab "painted ceiling". Just make your imaginary squares a little bit larger, so they don't overlap in the same places. That way, you'll have the least chance of visible transitions. Again, one layer of paint will suffice.
Painting the ceiling stripe-free
As we said at the beginning, one of the challenges in painting a ceiling is painting stripe-free. Here are a couple of tips to end up with a spotless result.
- Be sure to use a primer with excellent coverage.
- Roll out the paint in imaginary squares, in different directions.
- Let the squares overlap and make sure to paint the transitions while both squares are still wet.
- Paint the entire ceiling in one sitting. Your break afterwards will be so much more enjoyable, when you're looking at that gorgeous, perfectly-painted ceiling!
- Check the room temperature. An ideal temperature to paint in is between 10 and 20°C. Otherwise, the paint will dry too quickly and making those wet in wet transitions will be hard.
- If you're using water-based paint, postpone airing the room until after you've finished painting, to avoid quicker drying.
- Maybe the golden key: use paint that has a long open time and is easy to apply.

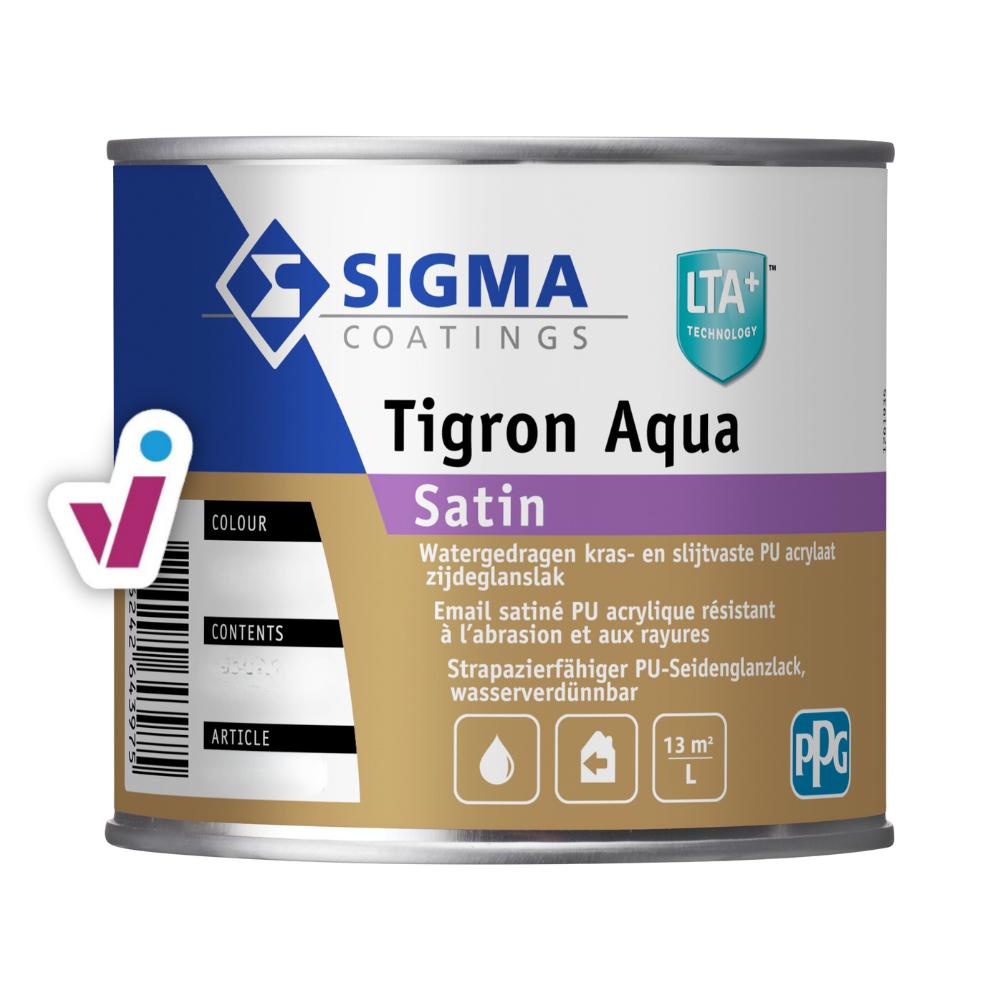
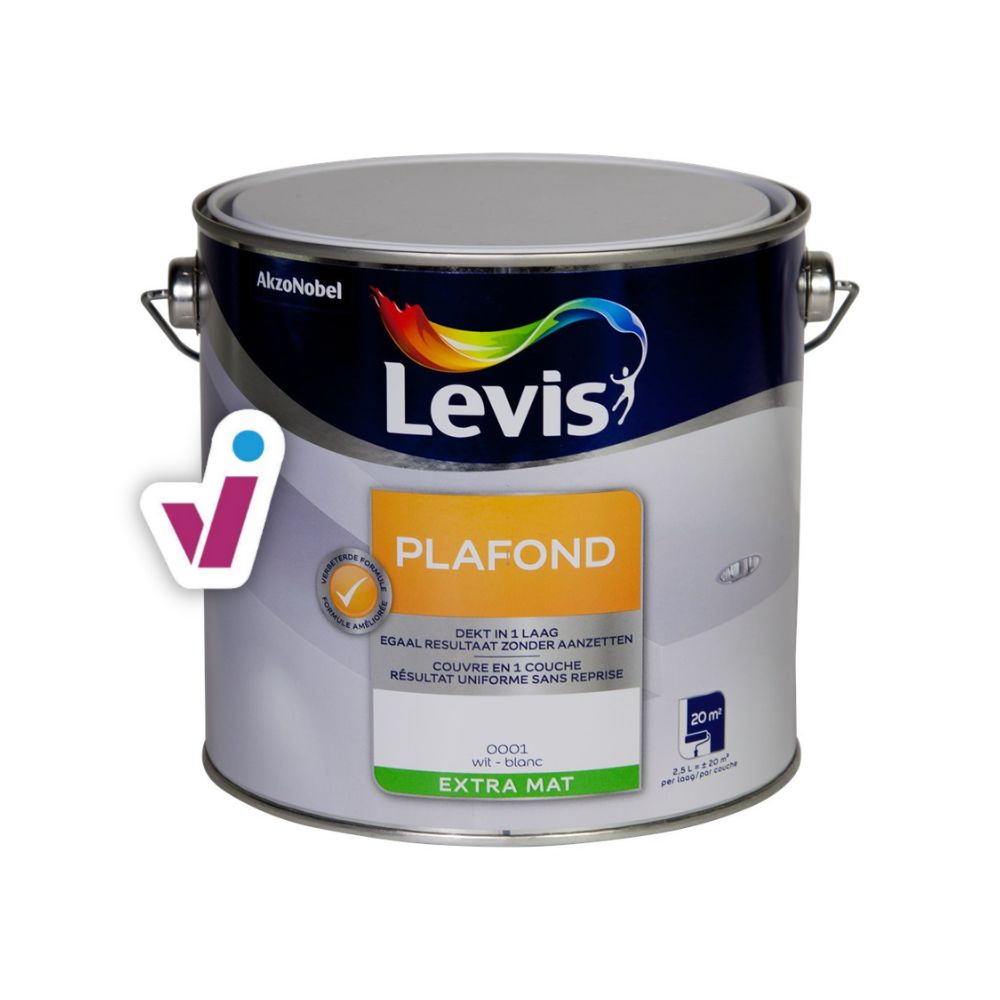
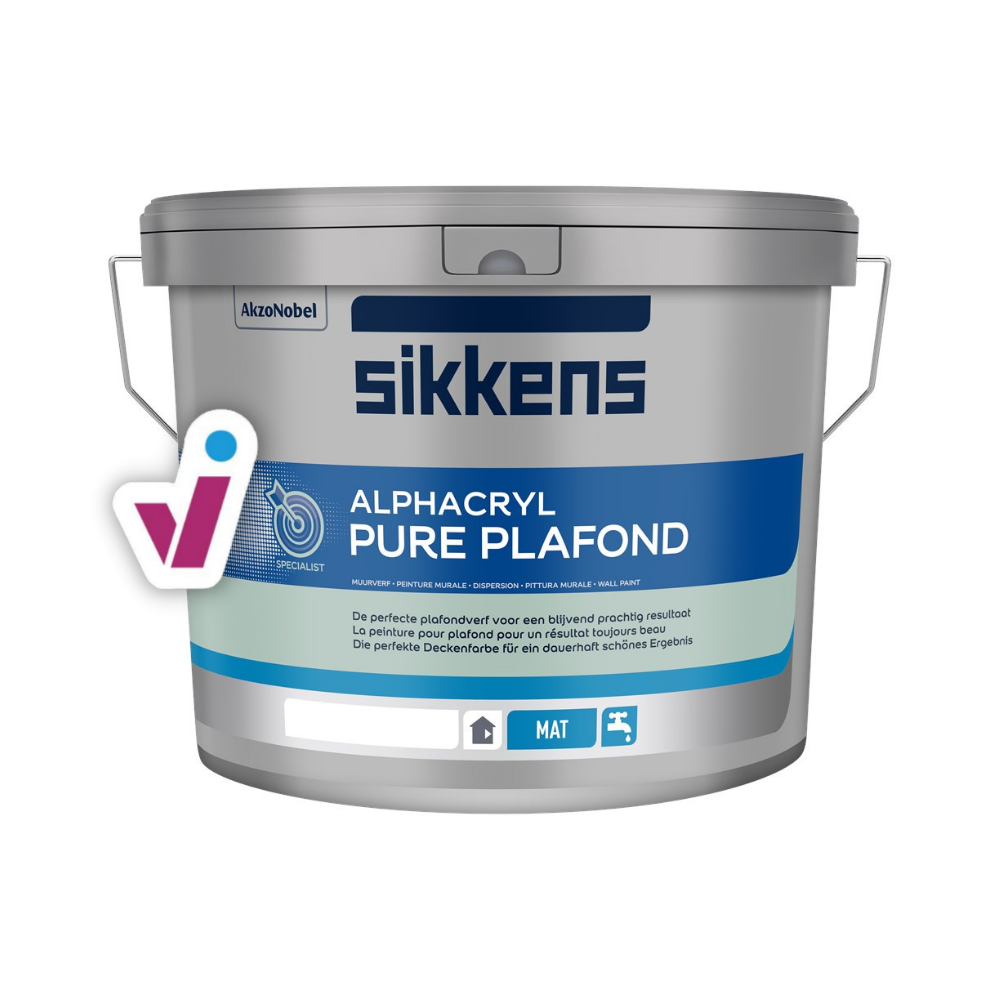
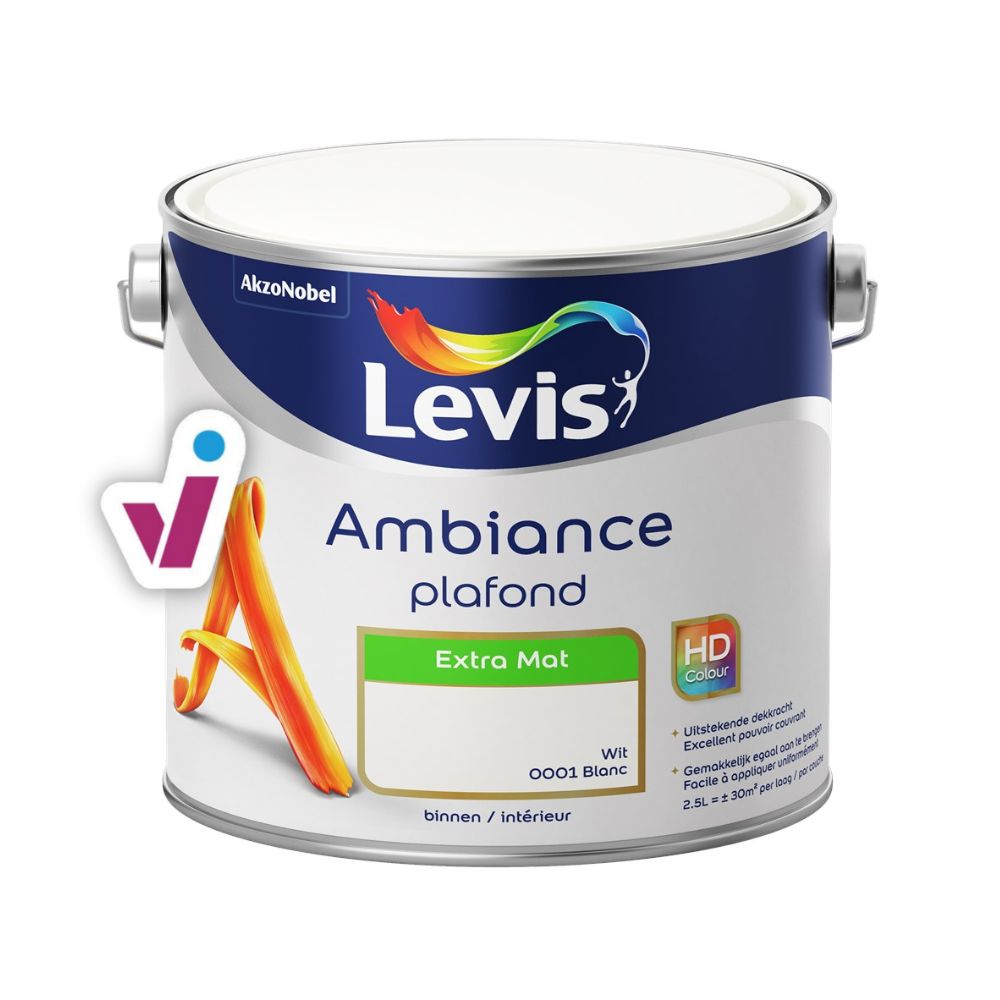
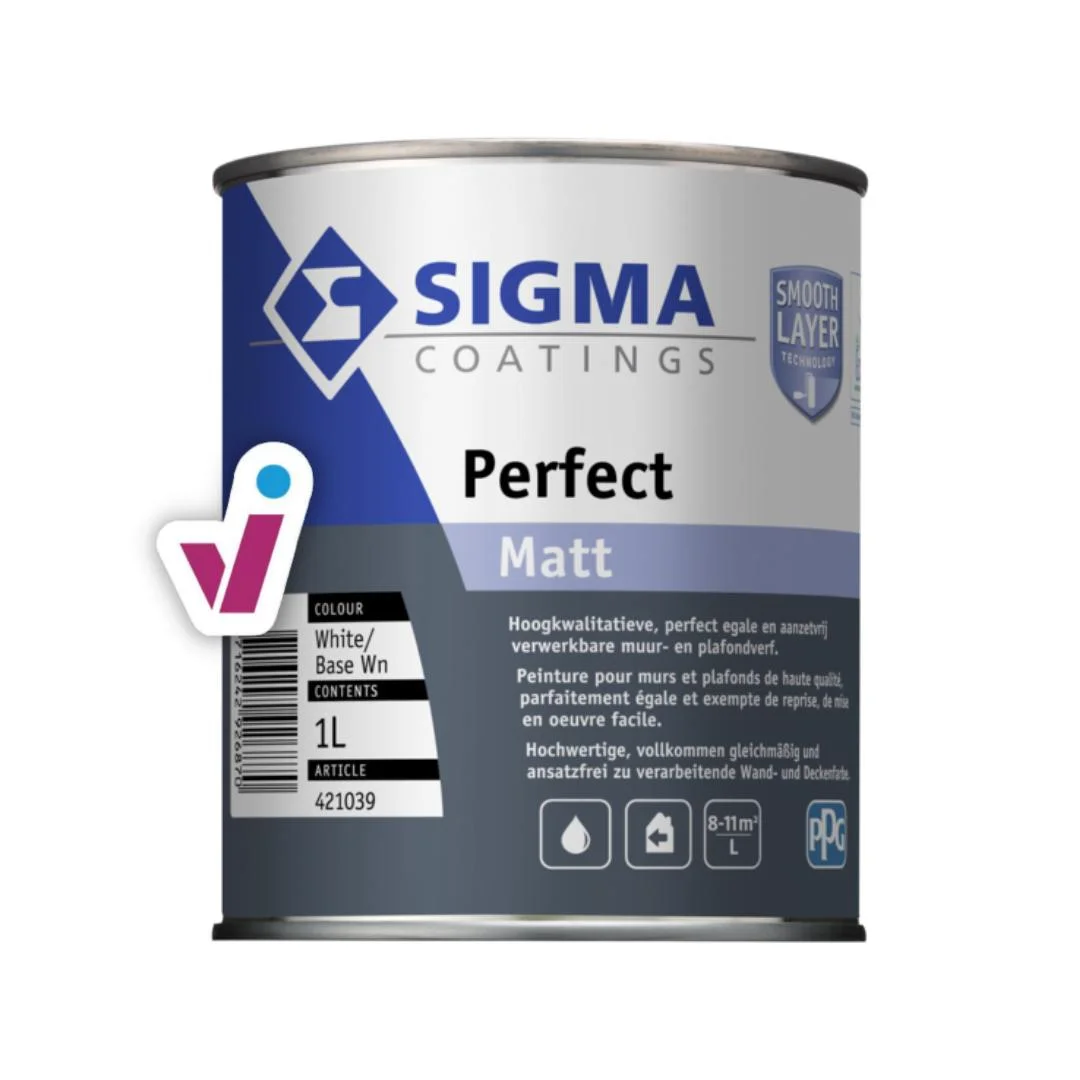
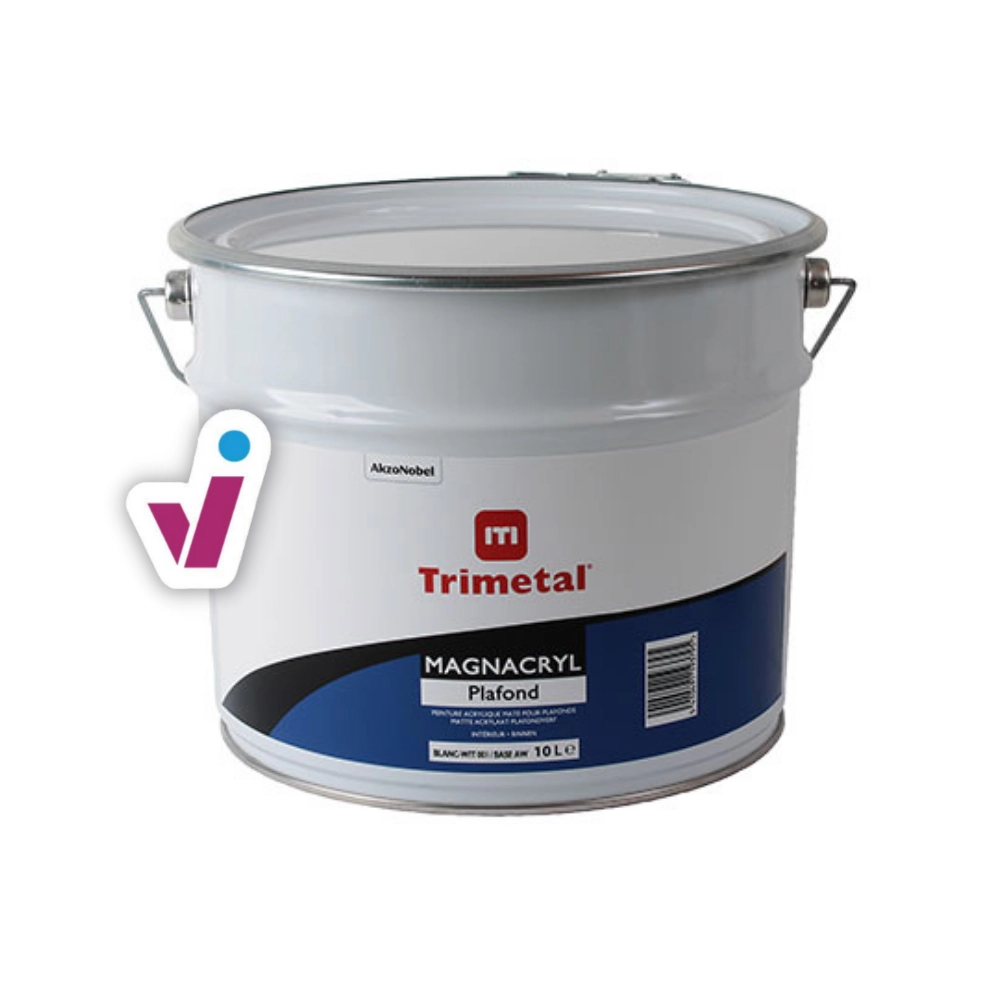
The perfect ceiling paint for a lasting beautiful result.
The perfect ceiling paint for a lasting beautiful result.
Painting the ceiling stripe-free
As we said at the beginning, one of the challenges in painting a ceiling is painting stripe-free. Here are a couple of tips to end up with a spotless result.
- Be sure to use a primer with excellent coverage.
- Roll out the paint in imaginary squares, in different directions.
- Let the squares overlap and make sure to paint the transitions while both squares are still wet.
- Paint the entire ceiling in one sitting. Your break afterwards will be so much more enjoyable, when you're looking at that gorgeous, perfectly-painted ceiling!
- Check the room temperature. An ideal temperature to paint in is between 10 and 20°C. Otherwise, the paint will dry too quickly and making those wet in wet transitions will be hard.
- If you're using water-based paint, postpone airing the room until after you've finished painting, to avoid quicker drying.
- Maybe the golden key: use paint that has a long open time and is easy to apply.

The perfect ceiling paint for a lasting beautiful result.
The perfect ceiling paint for a lasting beautiful result.
Checklist
- Be prepared (literally)
- Check the condition of your ceiling
- Apply the right primer
- Paint in squares
- Look up and admire your stripe-free painted ceiling
Useful tools
Need help?
If some of the steps aren't entirely clear to you, or if you are in a specific situation that isn't covered by our how-to guide, then our experts will be happy to help.
Useful tools
Need help?
If some of the steps aren't entirely clear to you, or if you are in a specific situation that isn't covered by our how-to guide, then our experts will be happy to help.


